Trim pipeline
During the benchmark period I took it upon myself to teach the teams about re-use of textures. The team was not yet familiar with different strategies of re-using textures, so I spent a few hours setting up a simple pipeline for them and outsourcing to use. Nothing fancy, but this workflow and textures were heavily re-used. That meant creating:
- an easy-to-use material that supported several features to mitigate any material permutations. Incl.
- Simple wear and color mask logic
- Random variation based on position
- Primitive Data hook for manual overrides
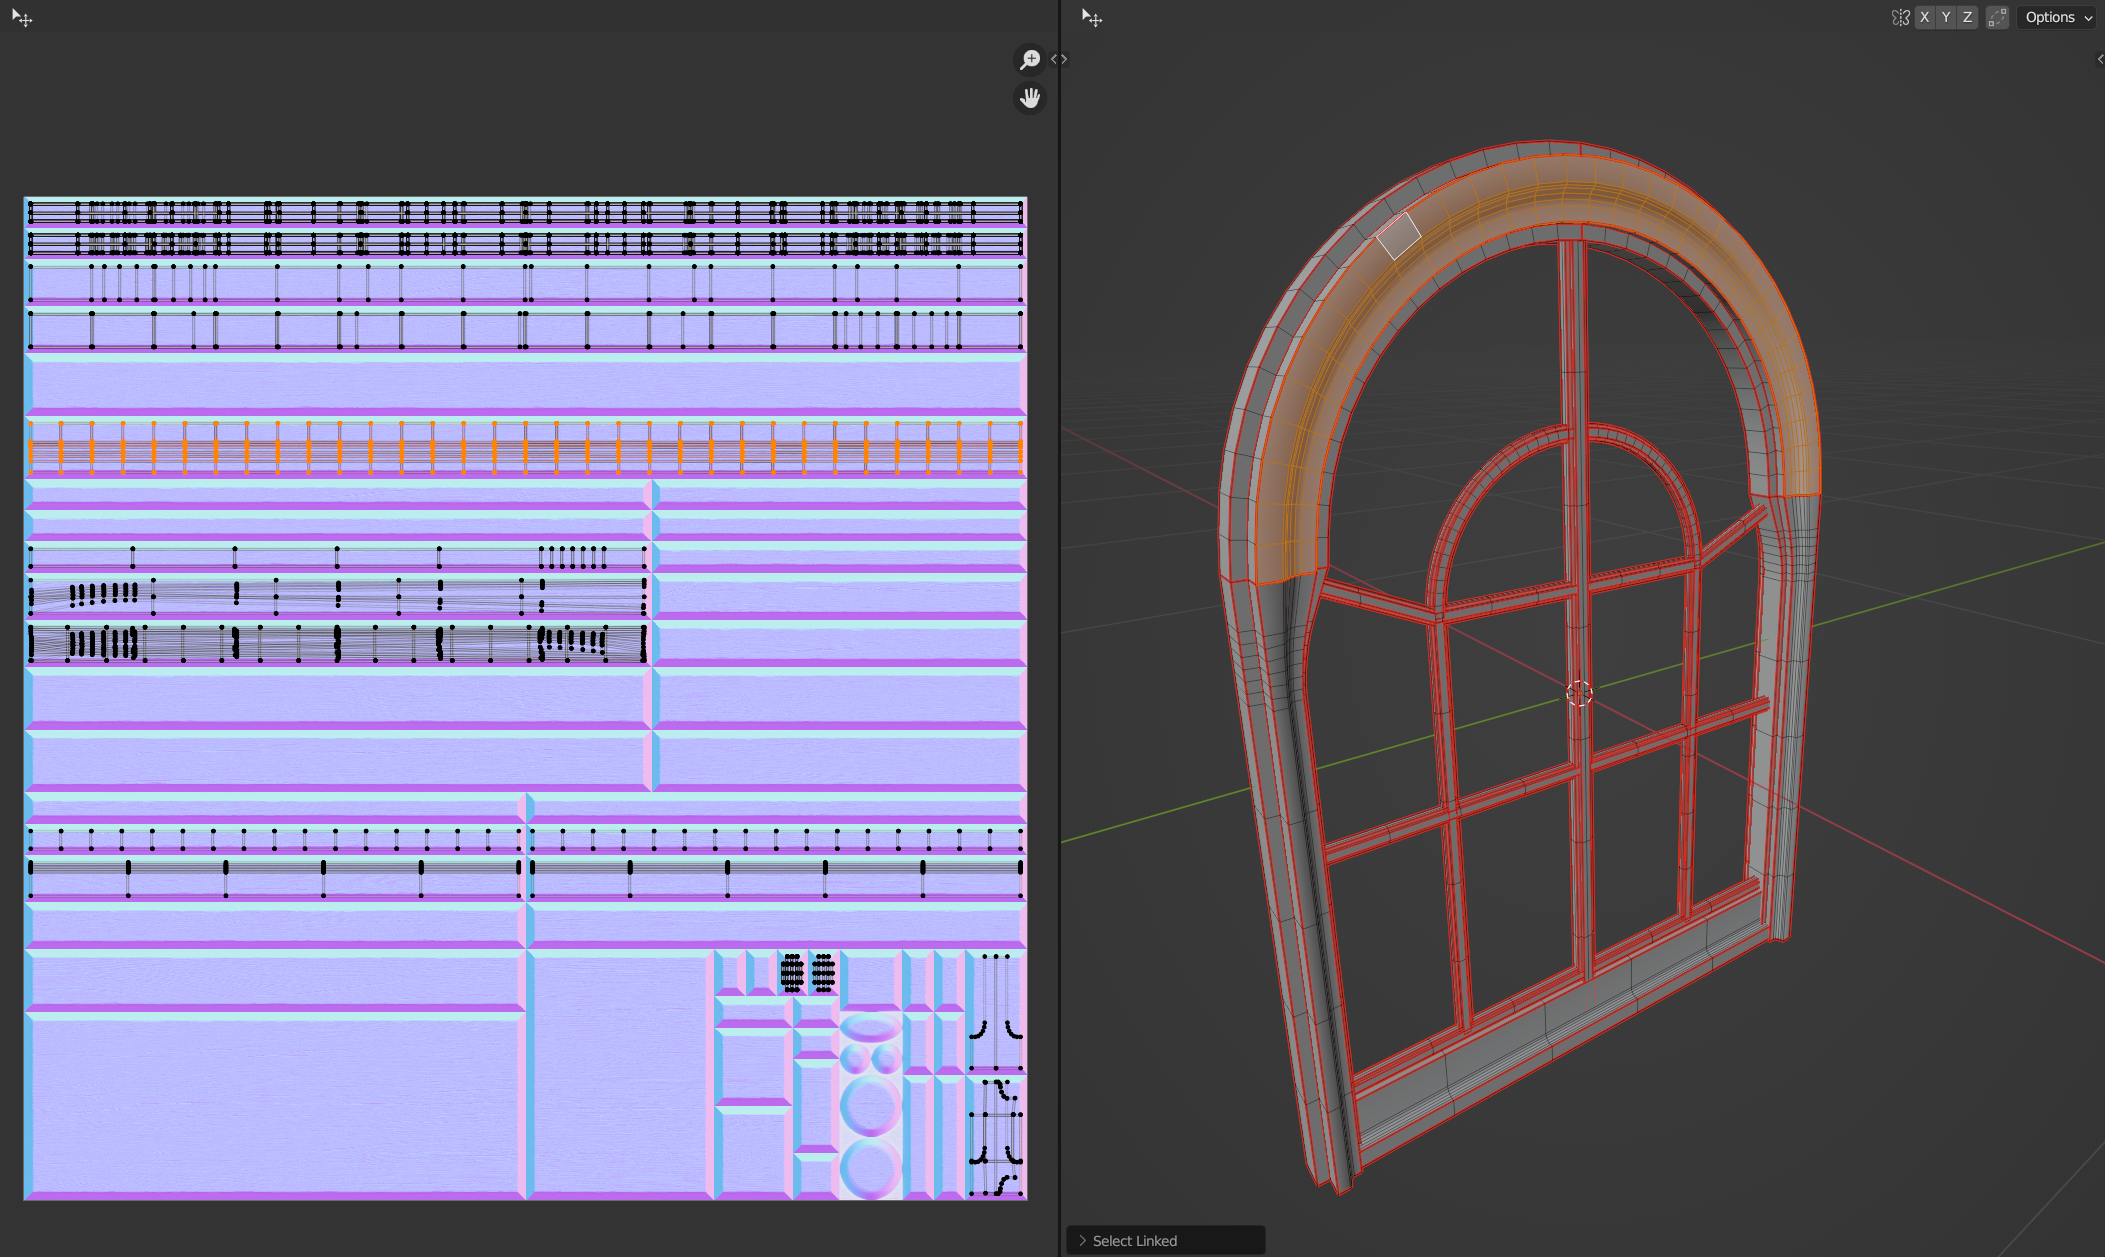
- A hot-spotting setup within Blender
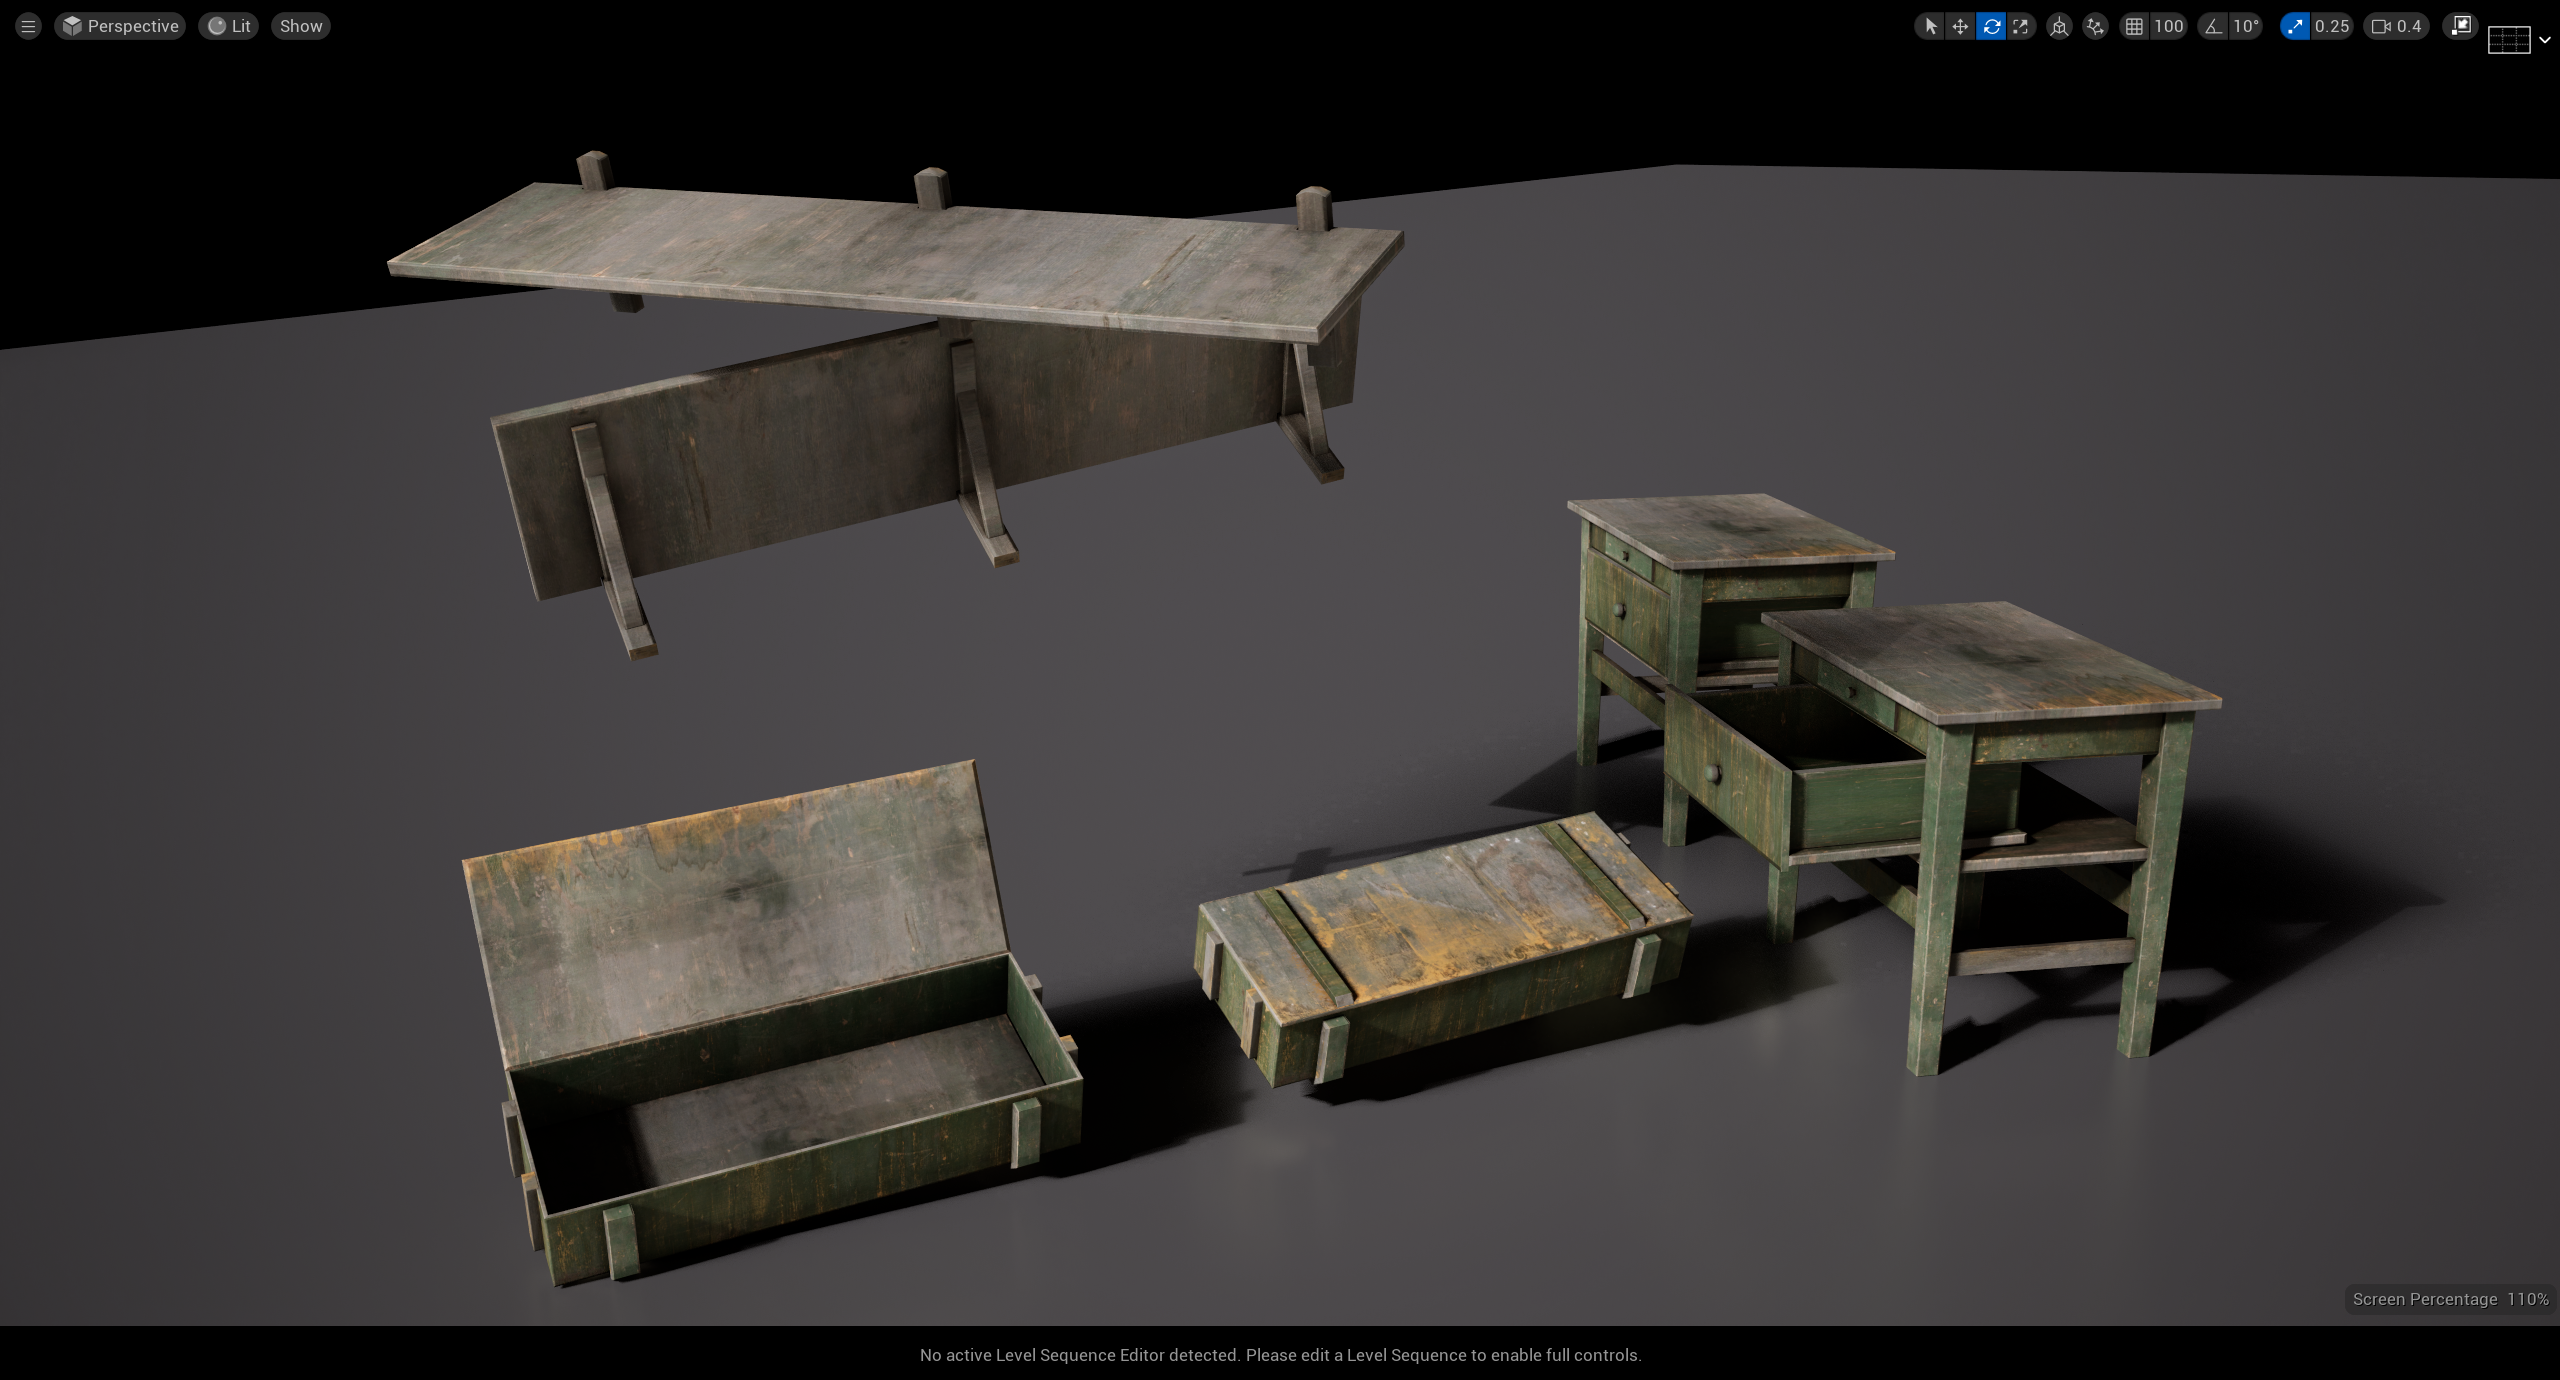
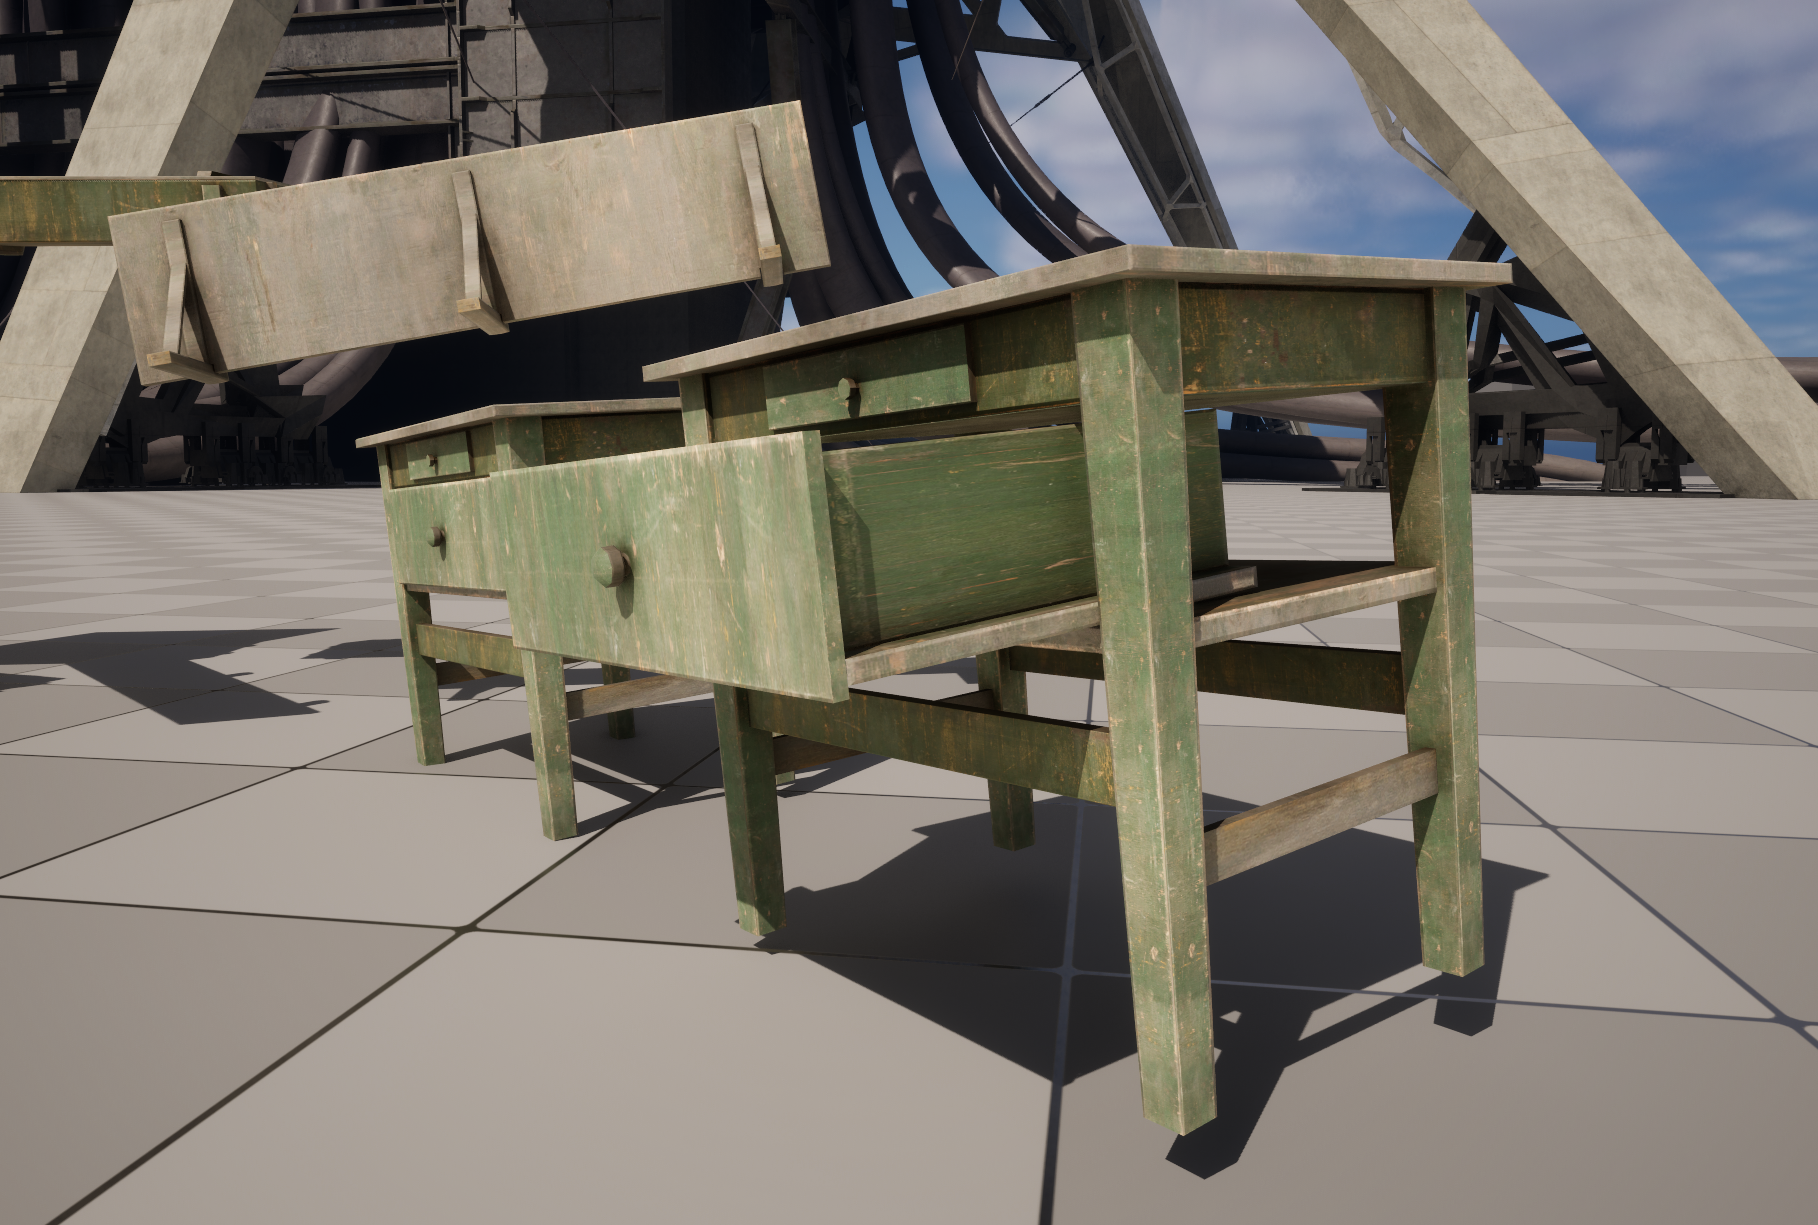
- Some example meshes
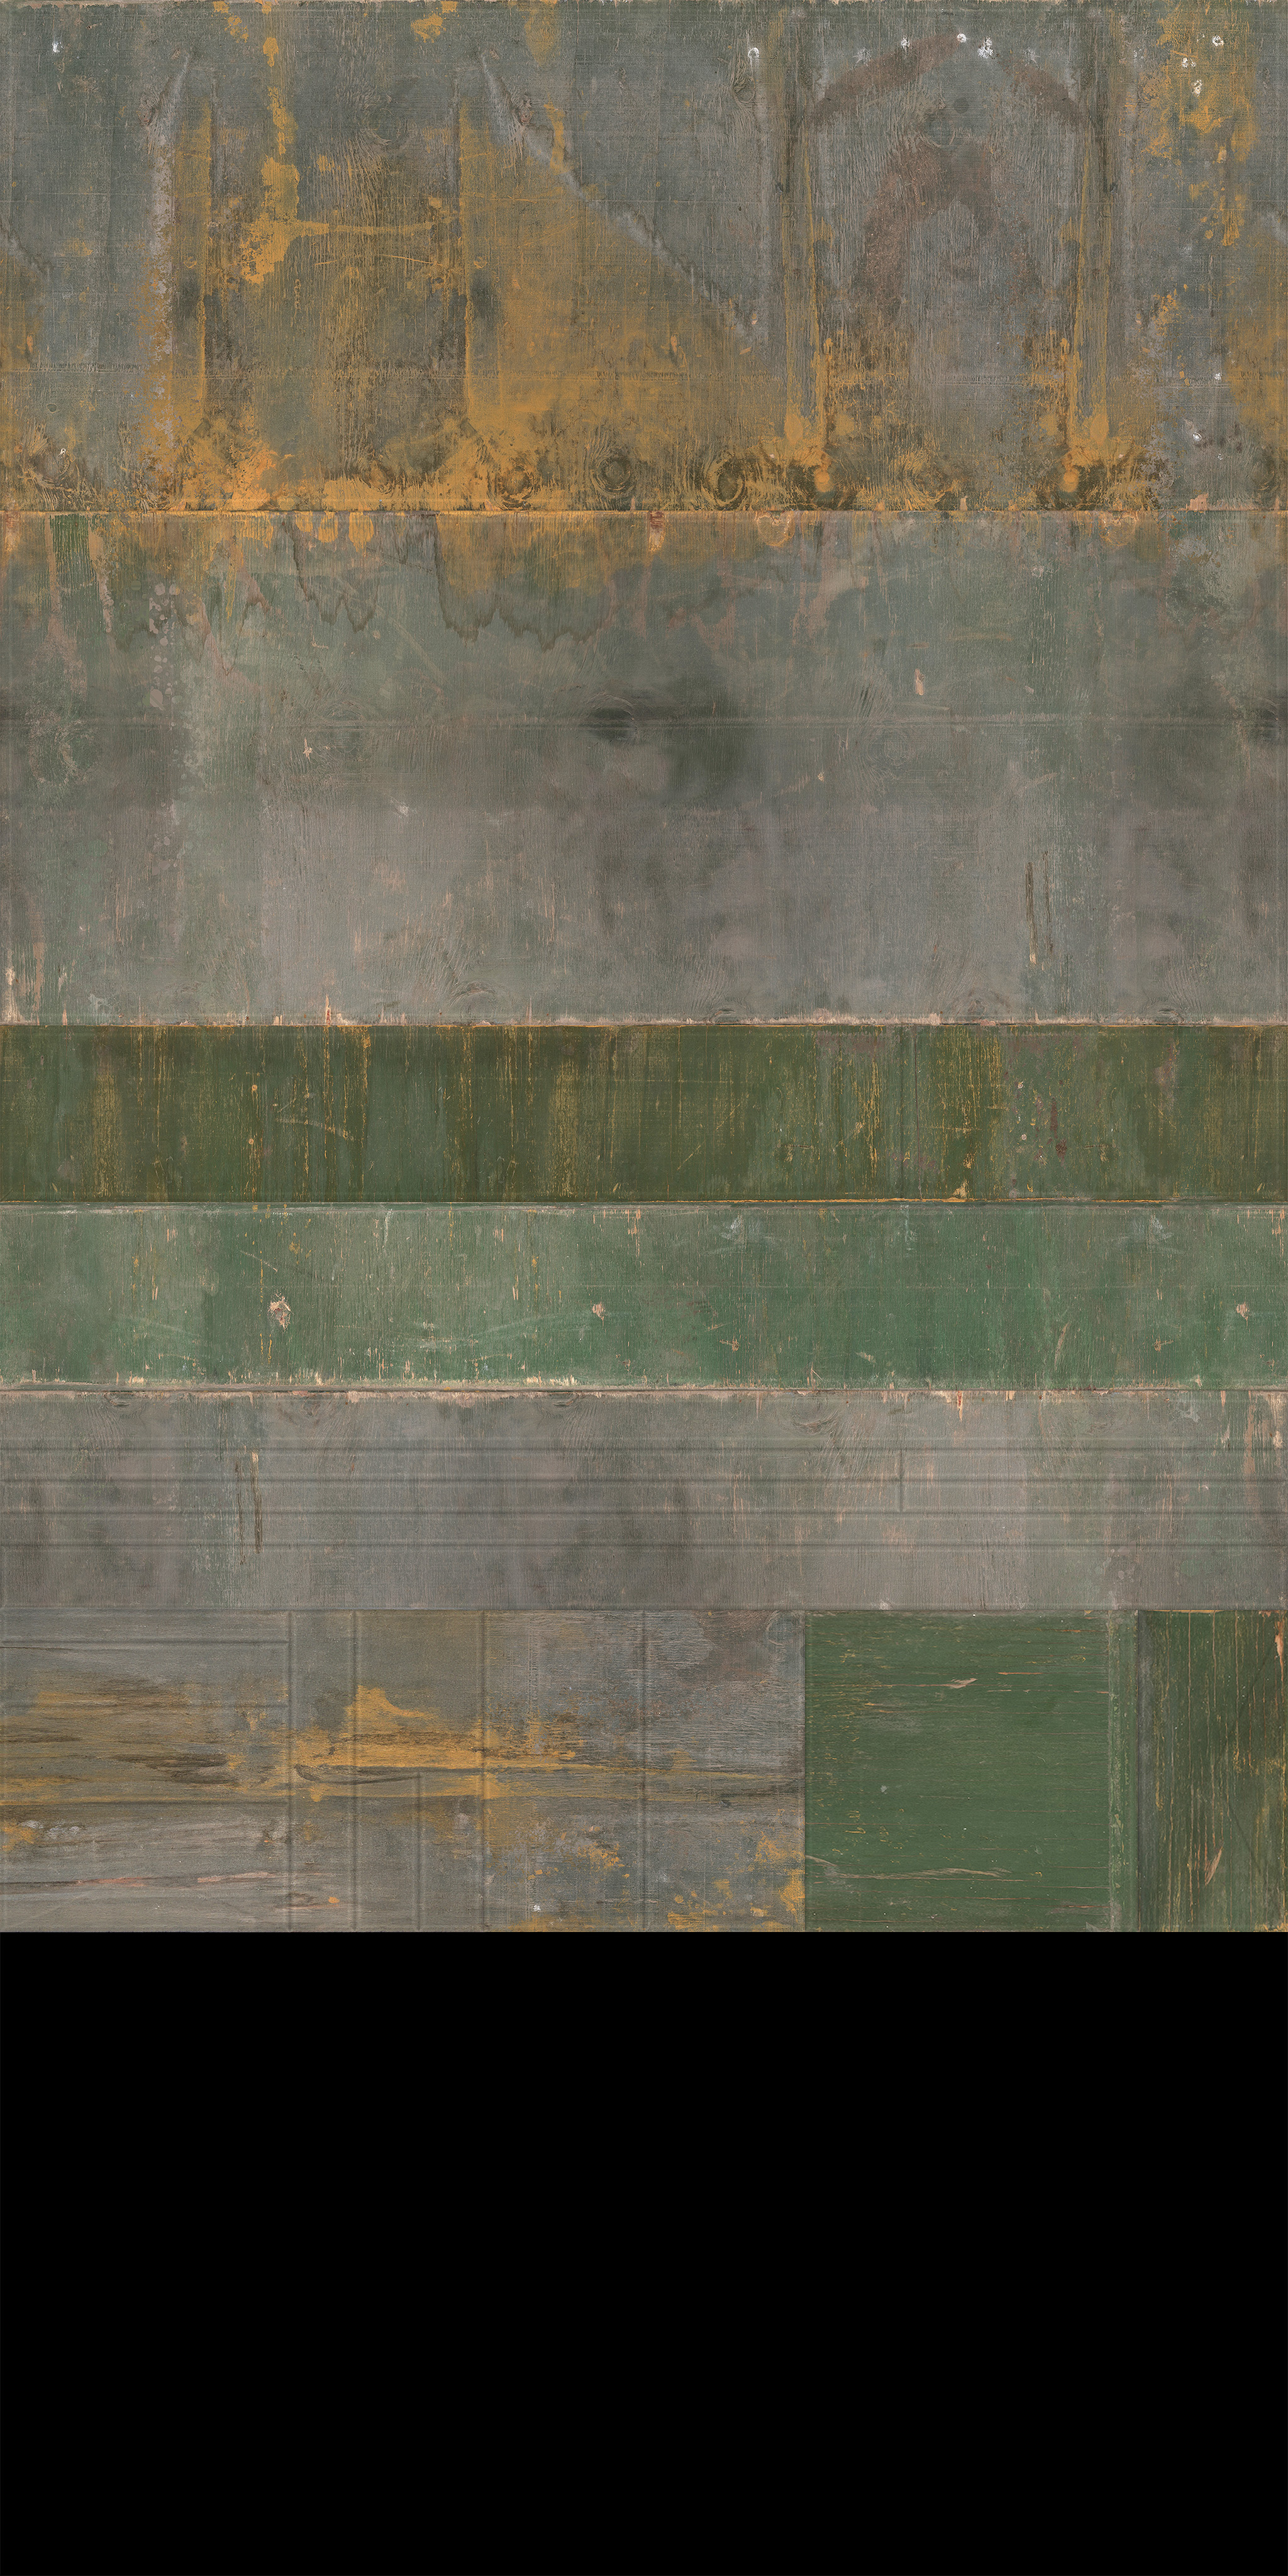
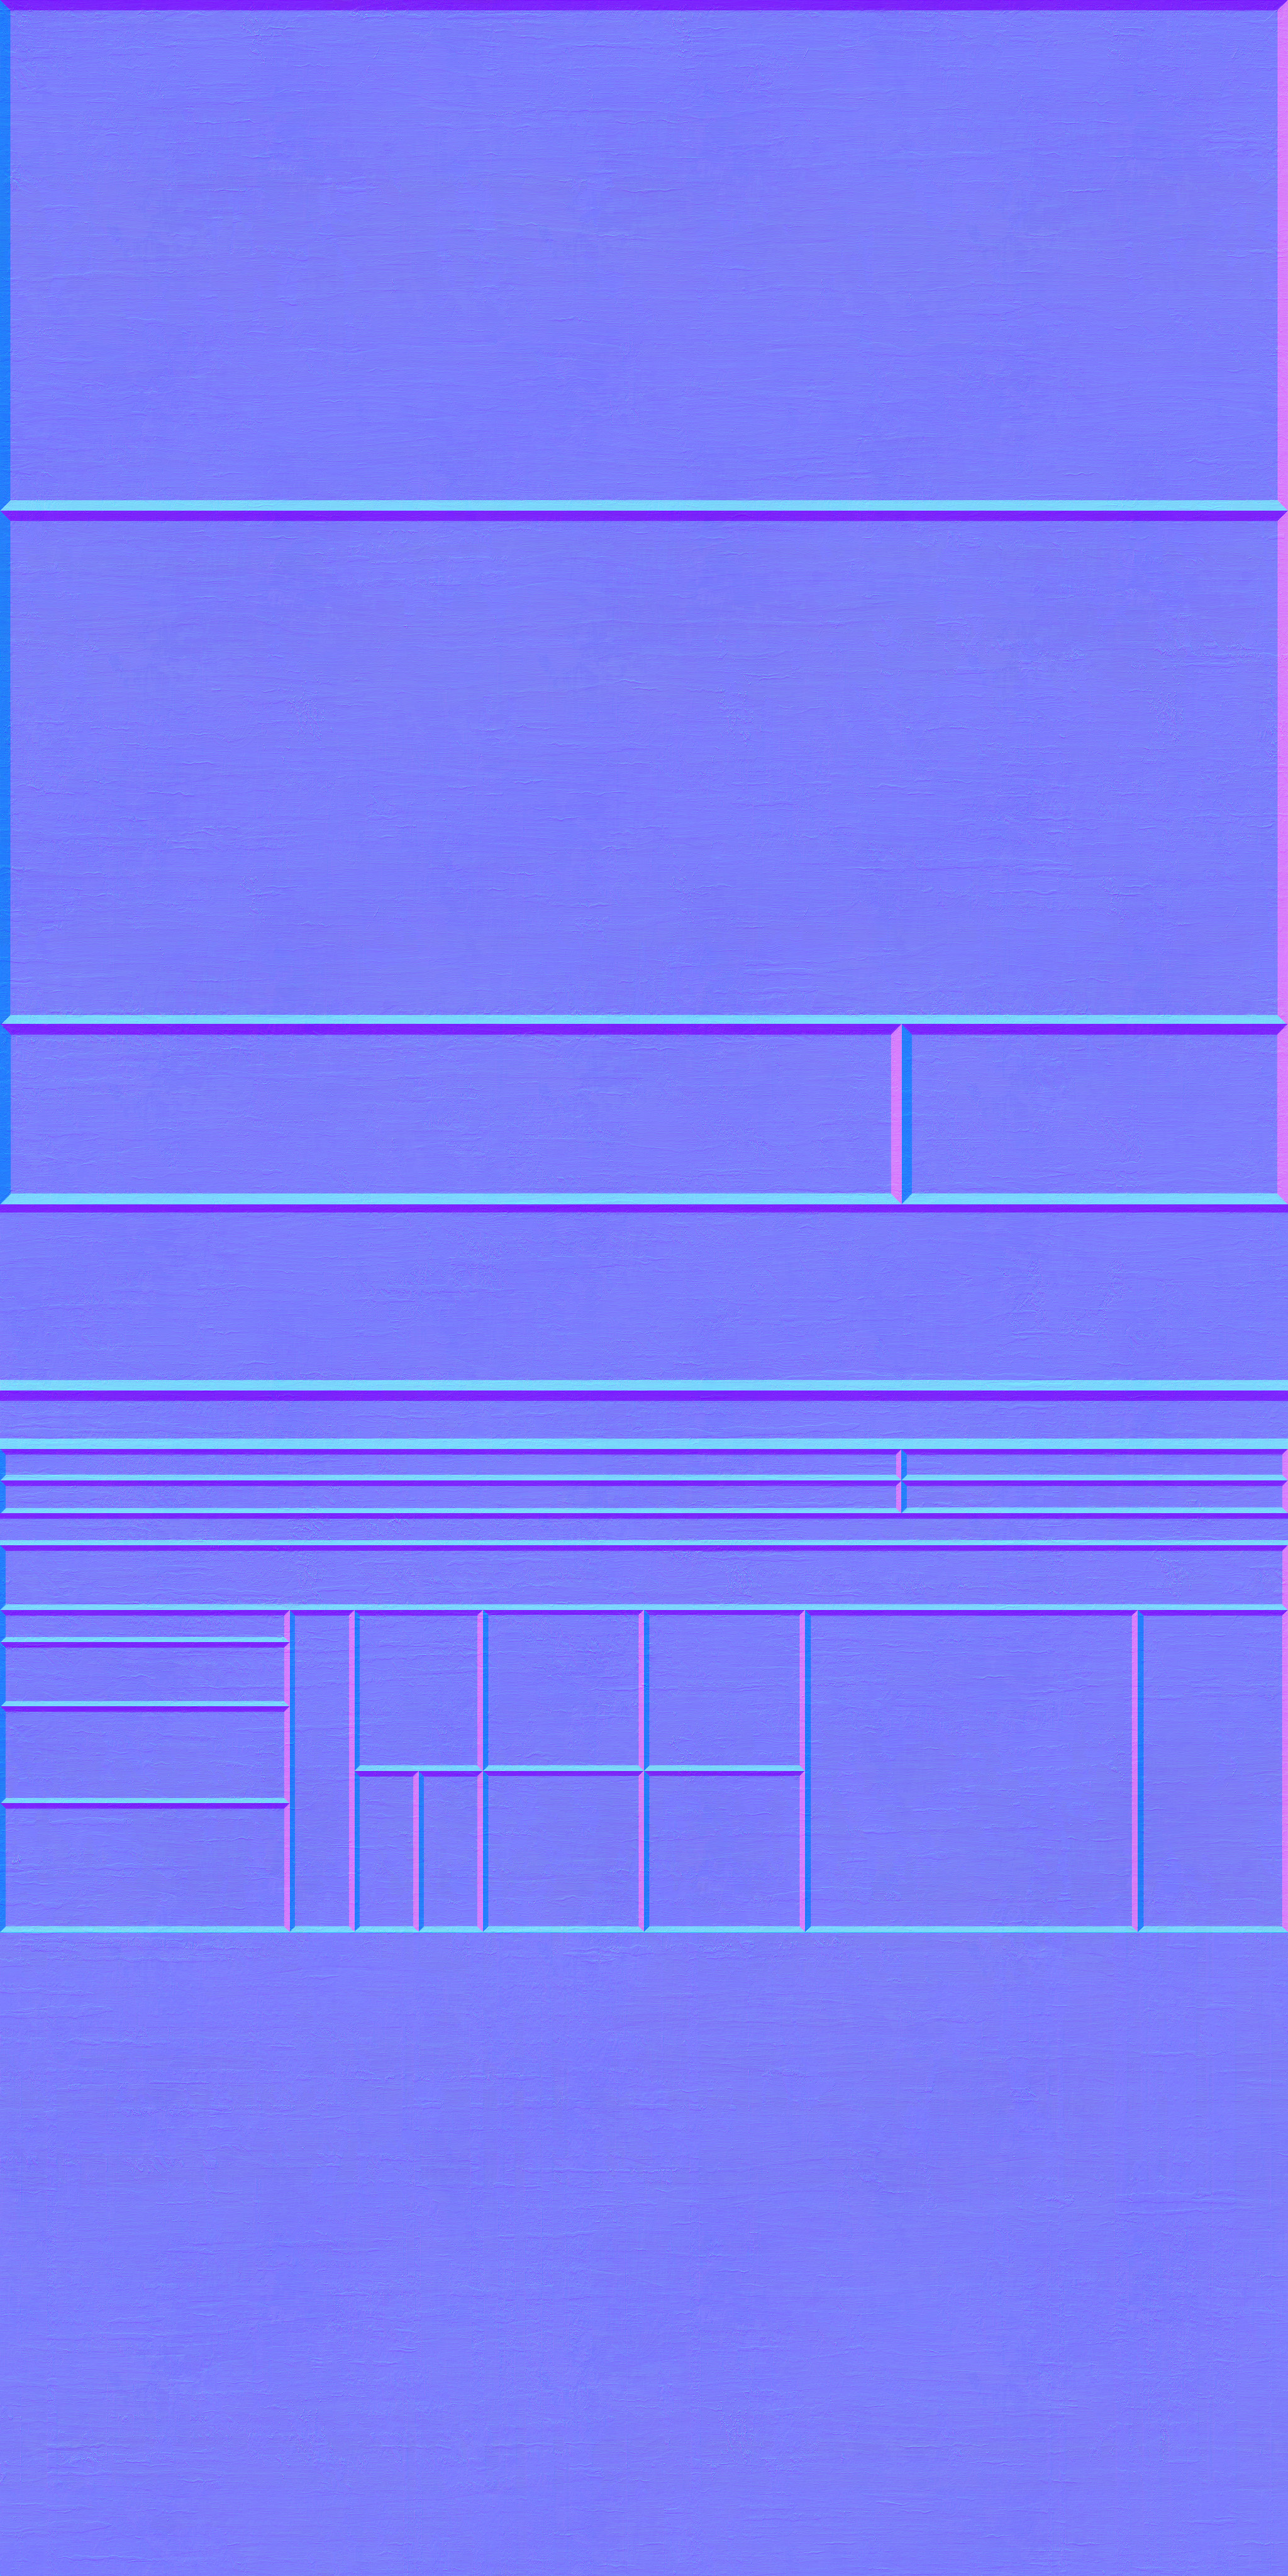
- Some example textures
With this setup, close to whatever generic prop could be implemented in the engine within an hour or so. We only used a very few select trims, the majority I set up early in the beginning.
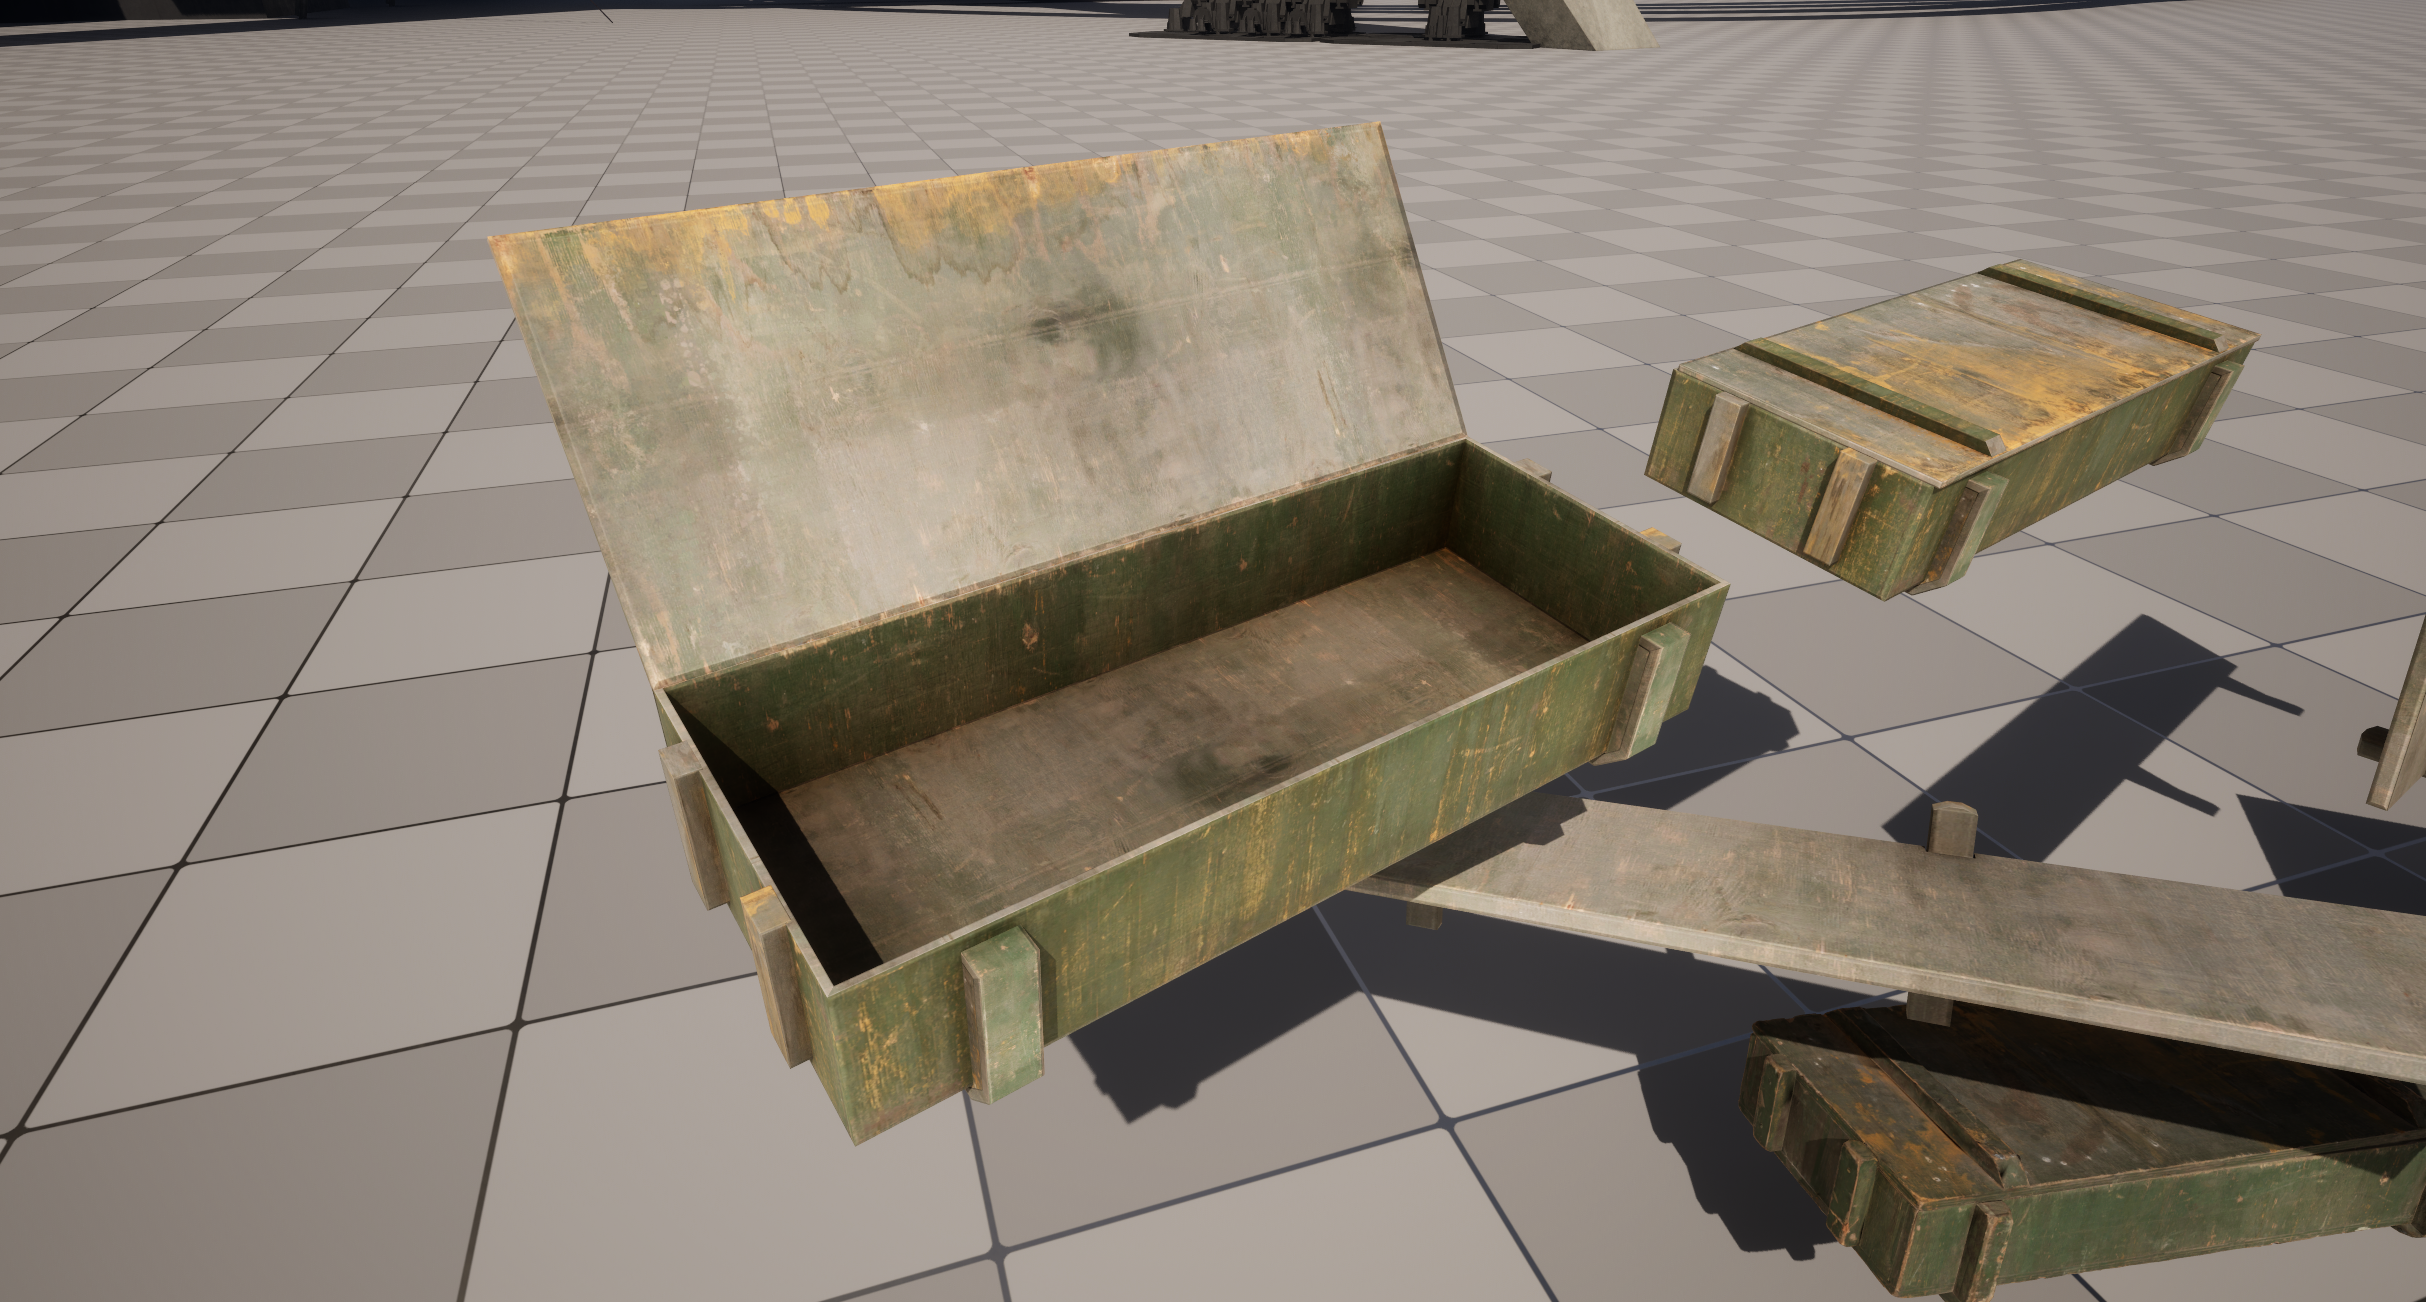
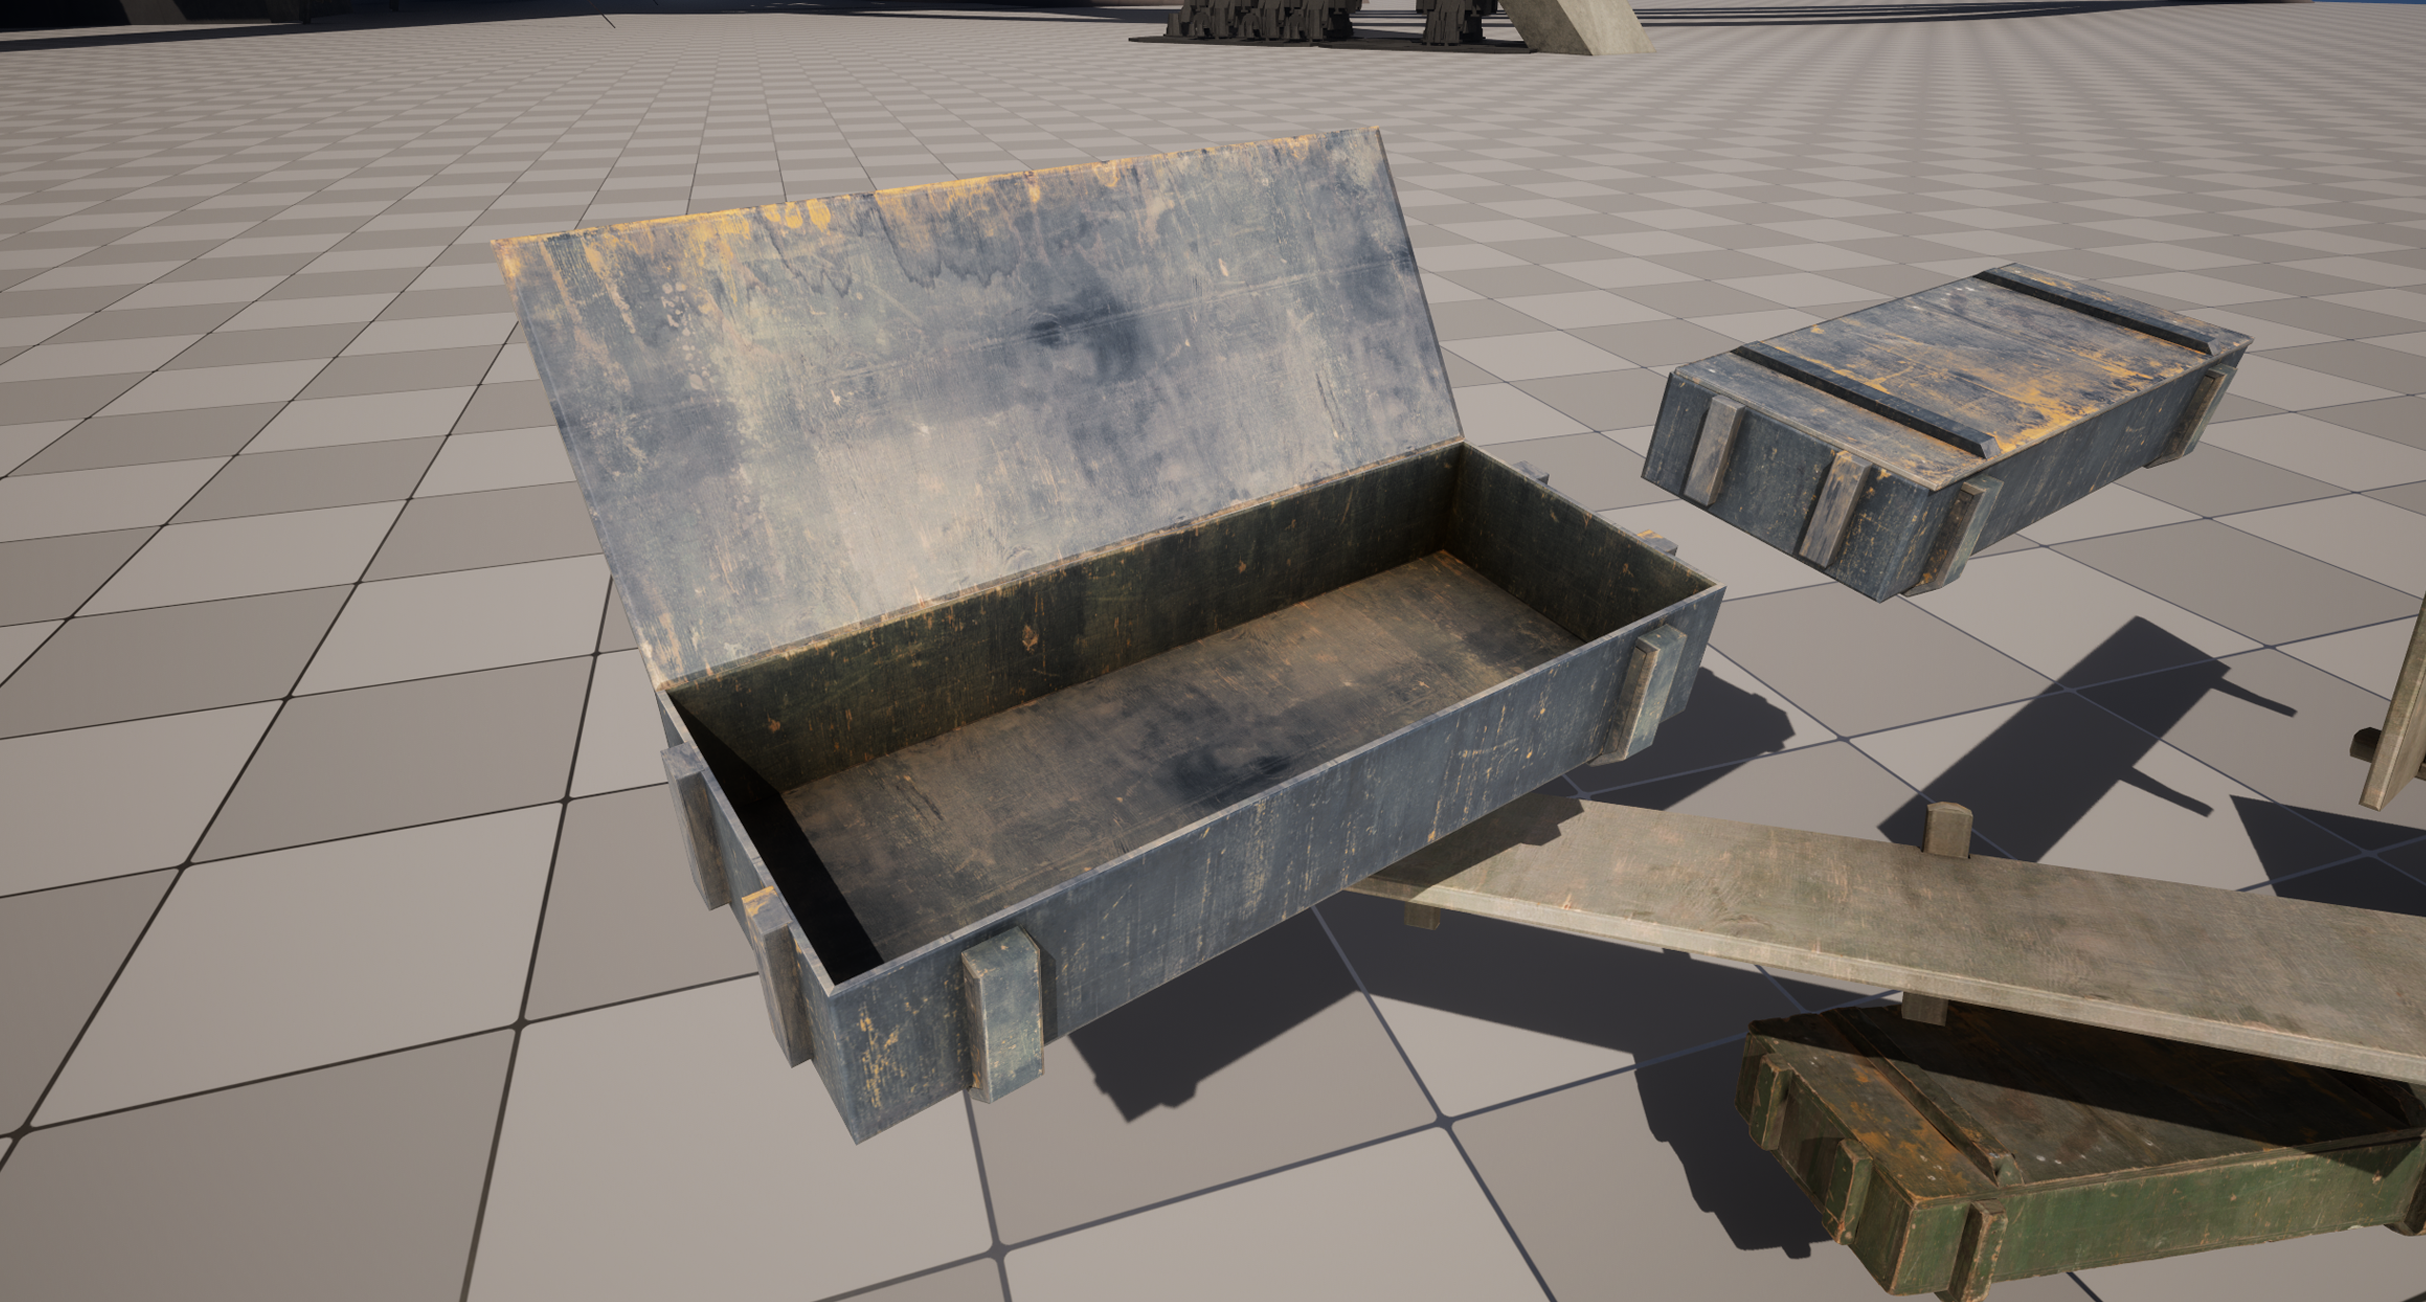
Scan Trim pipeline
I also taught the team how to create trims out of scan data, the examples were taken from some Megascans content which I simply projected on to flat surfaces I then could create textures out of. By adding a 256x256 detail texture, resolution held up on even larger content. I made some really simple props, including a version of the source assets I baked down the information from. Some of those examples can be found here
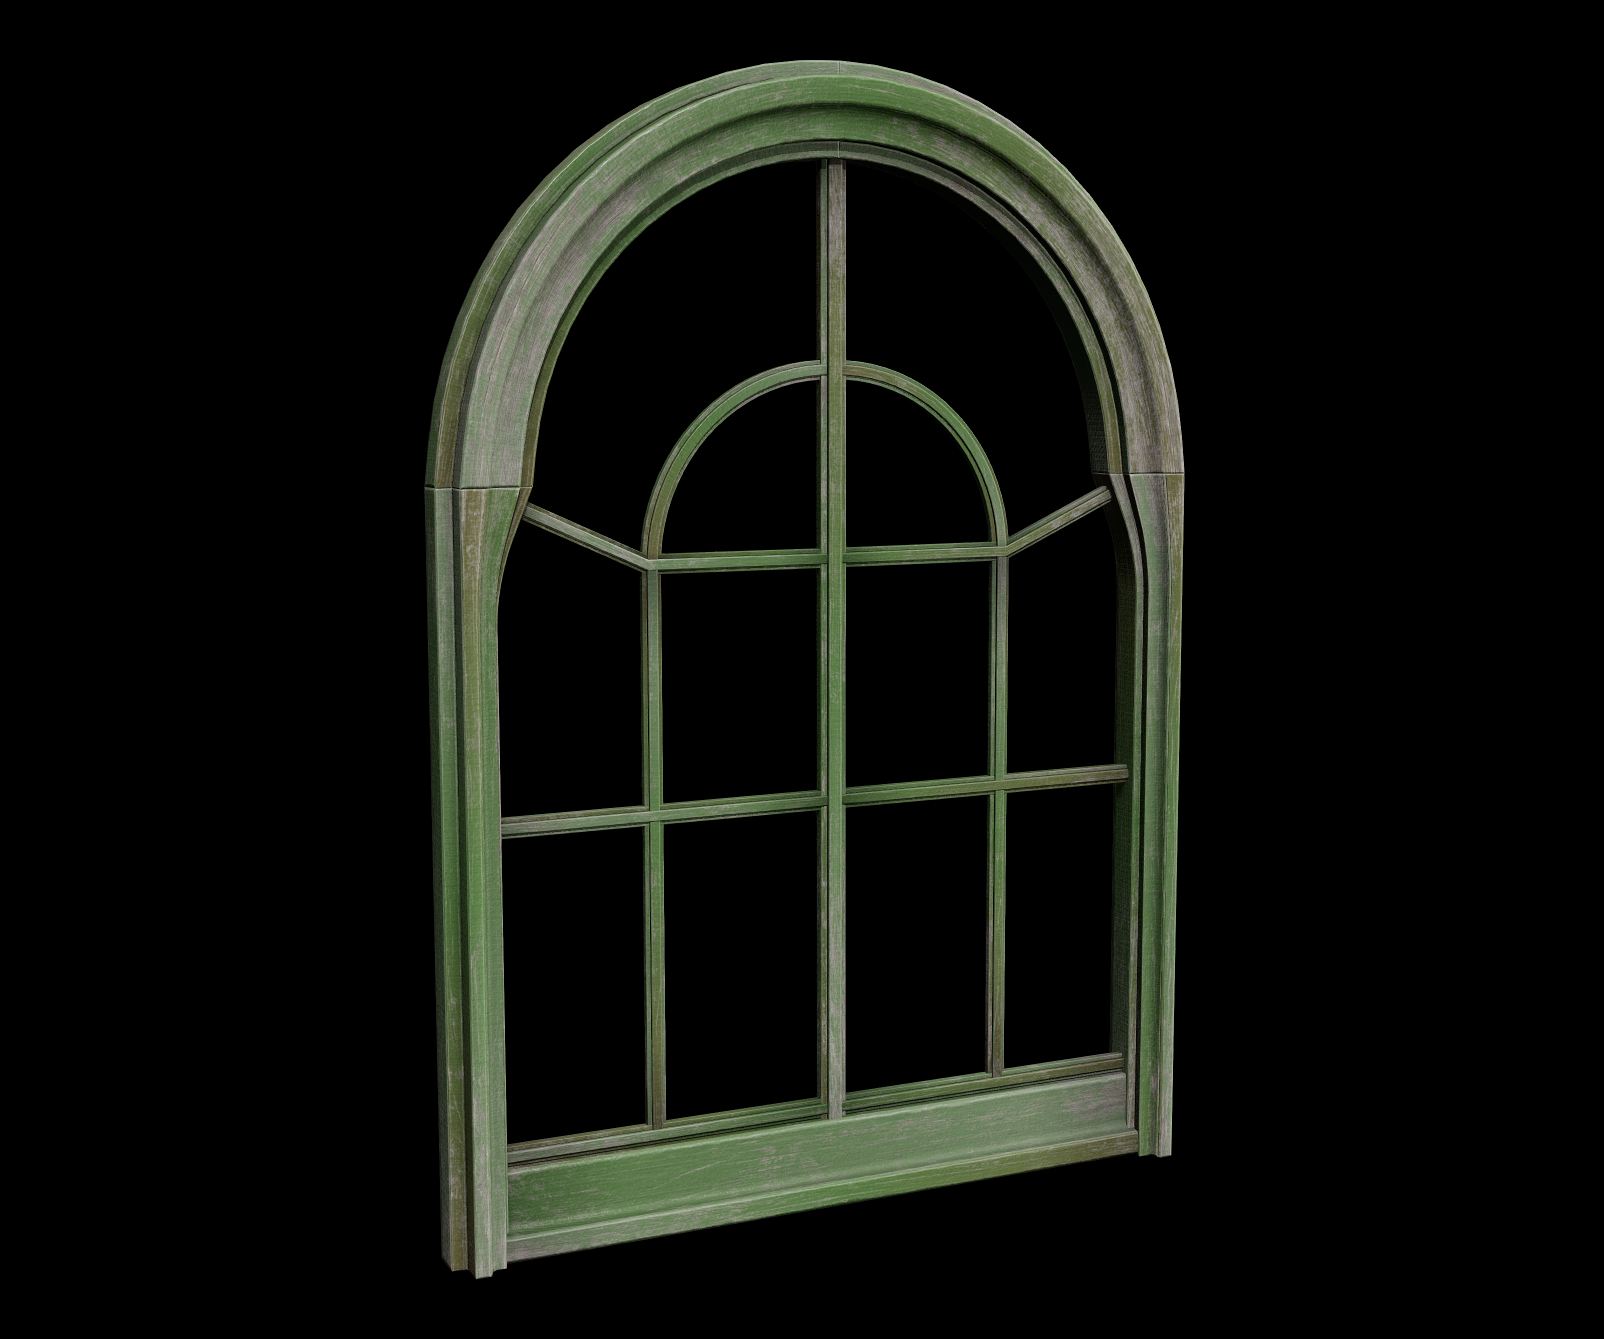
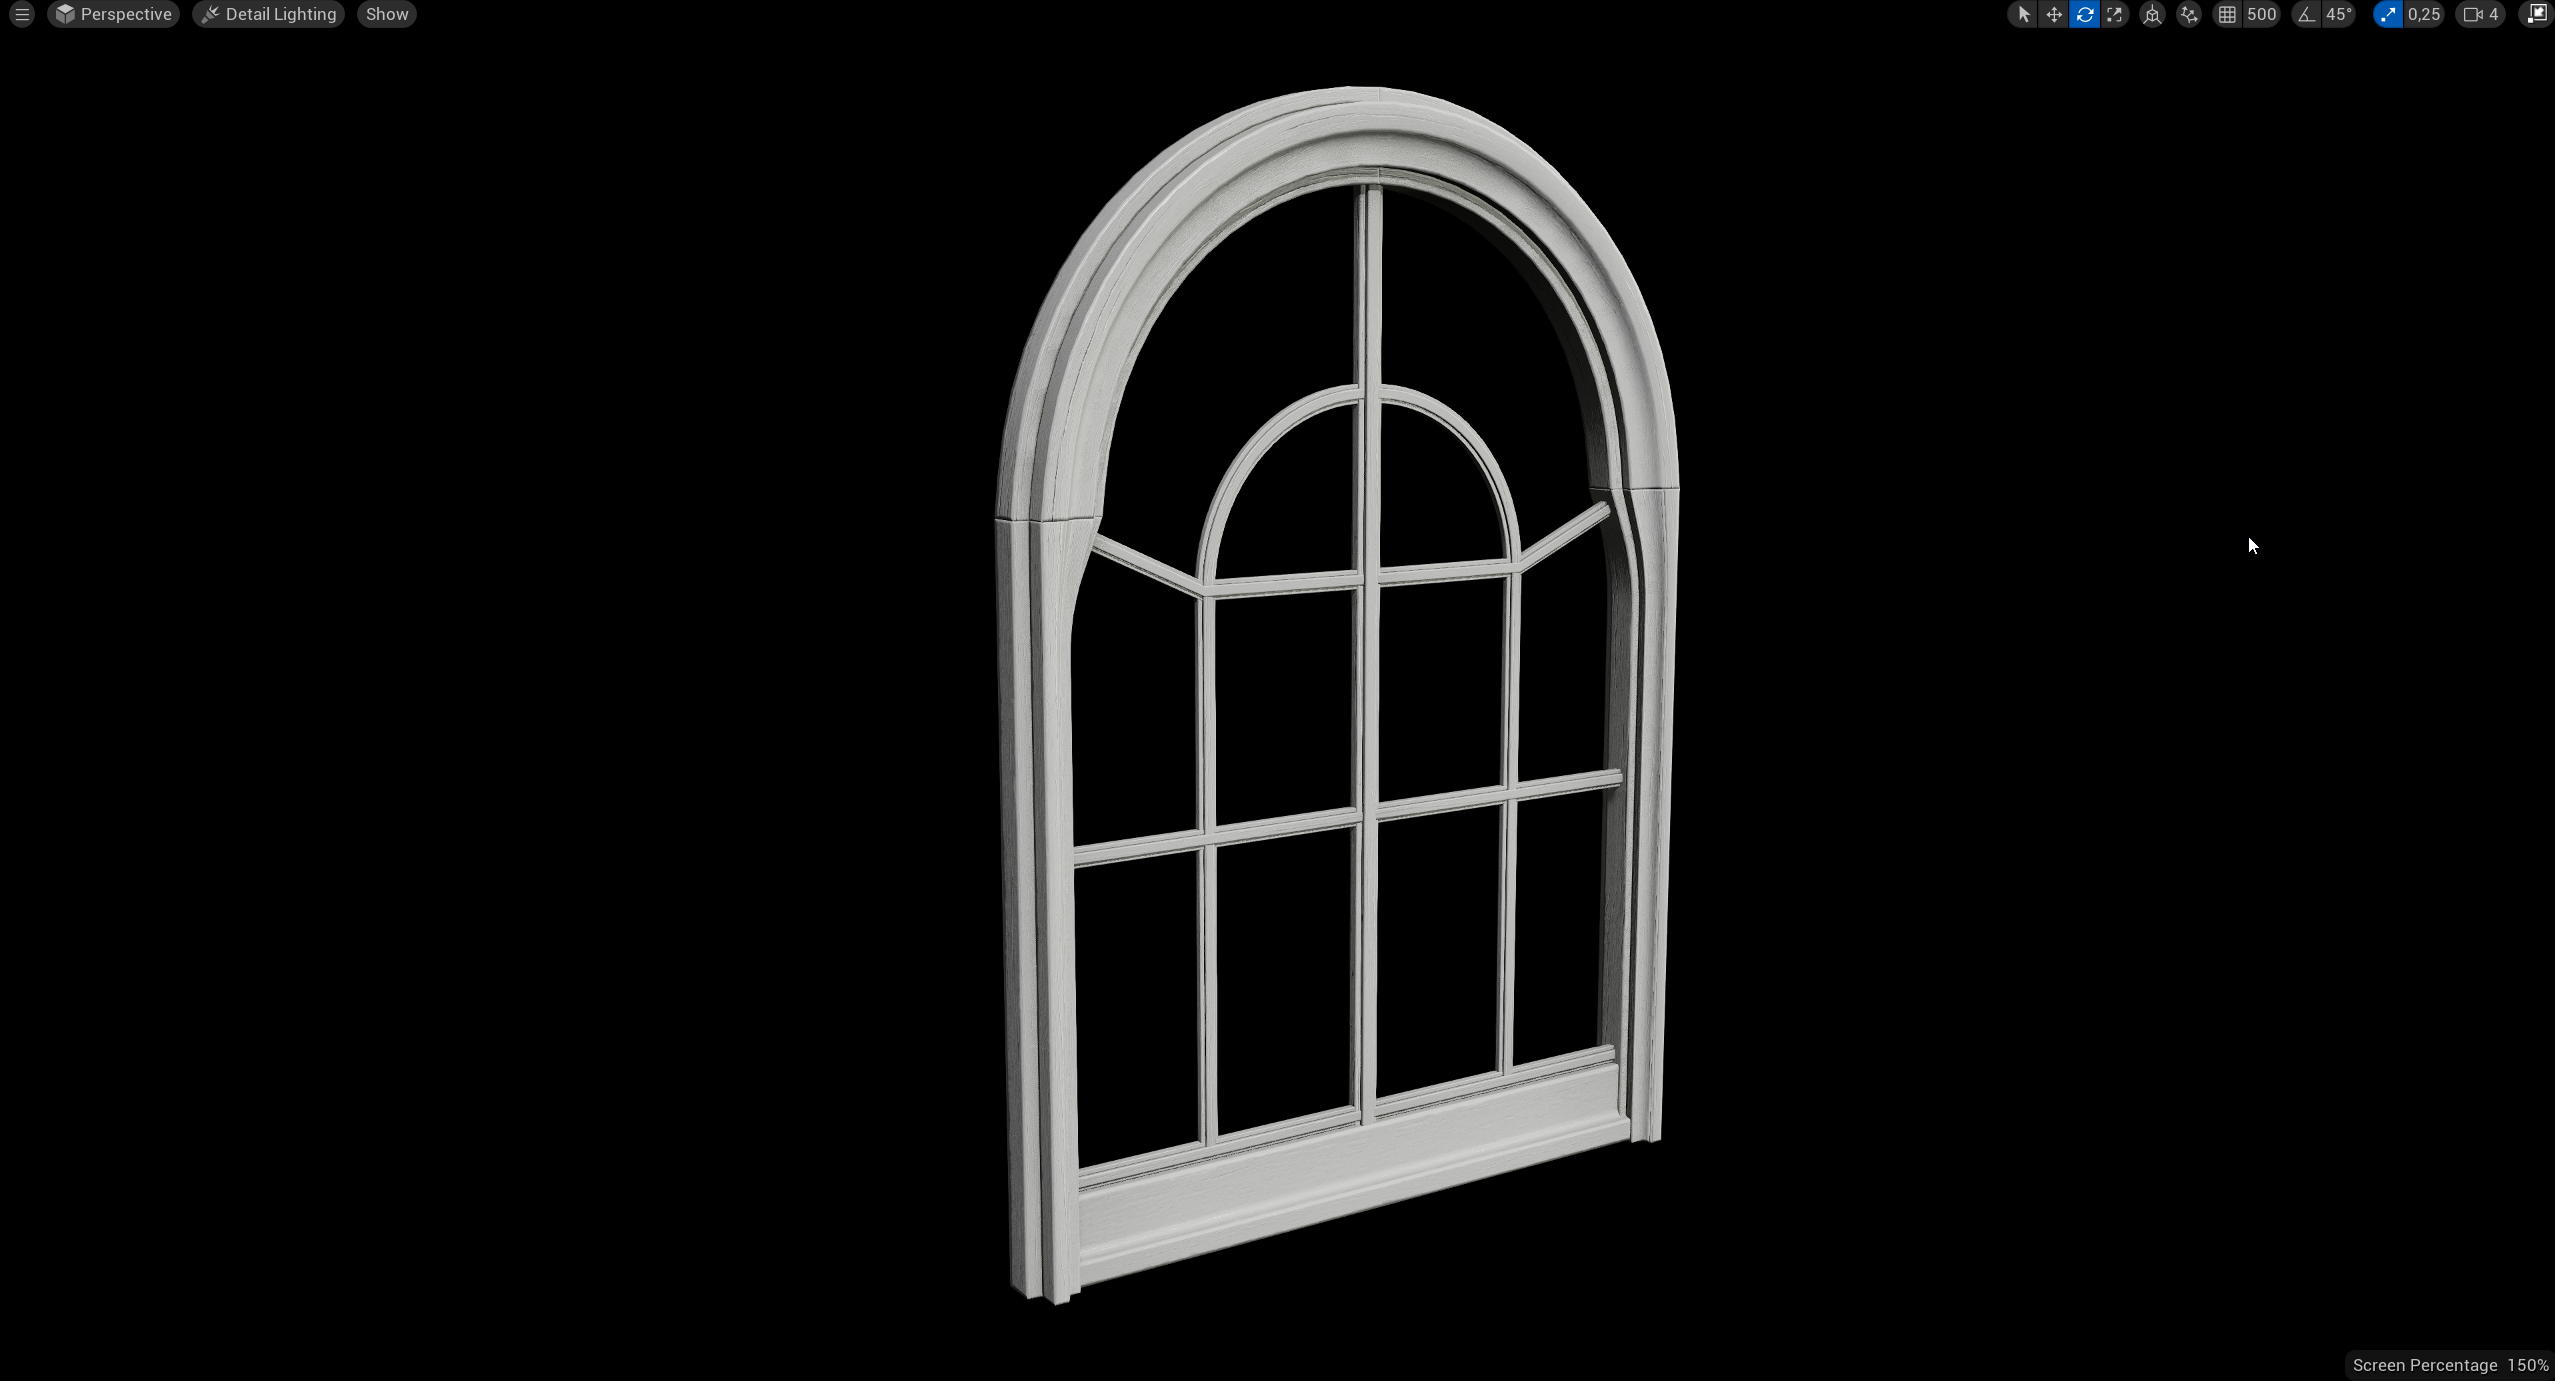
Window Frame Example
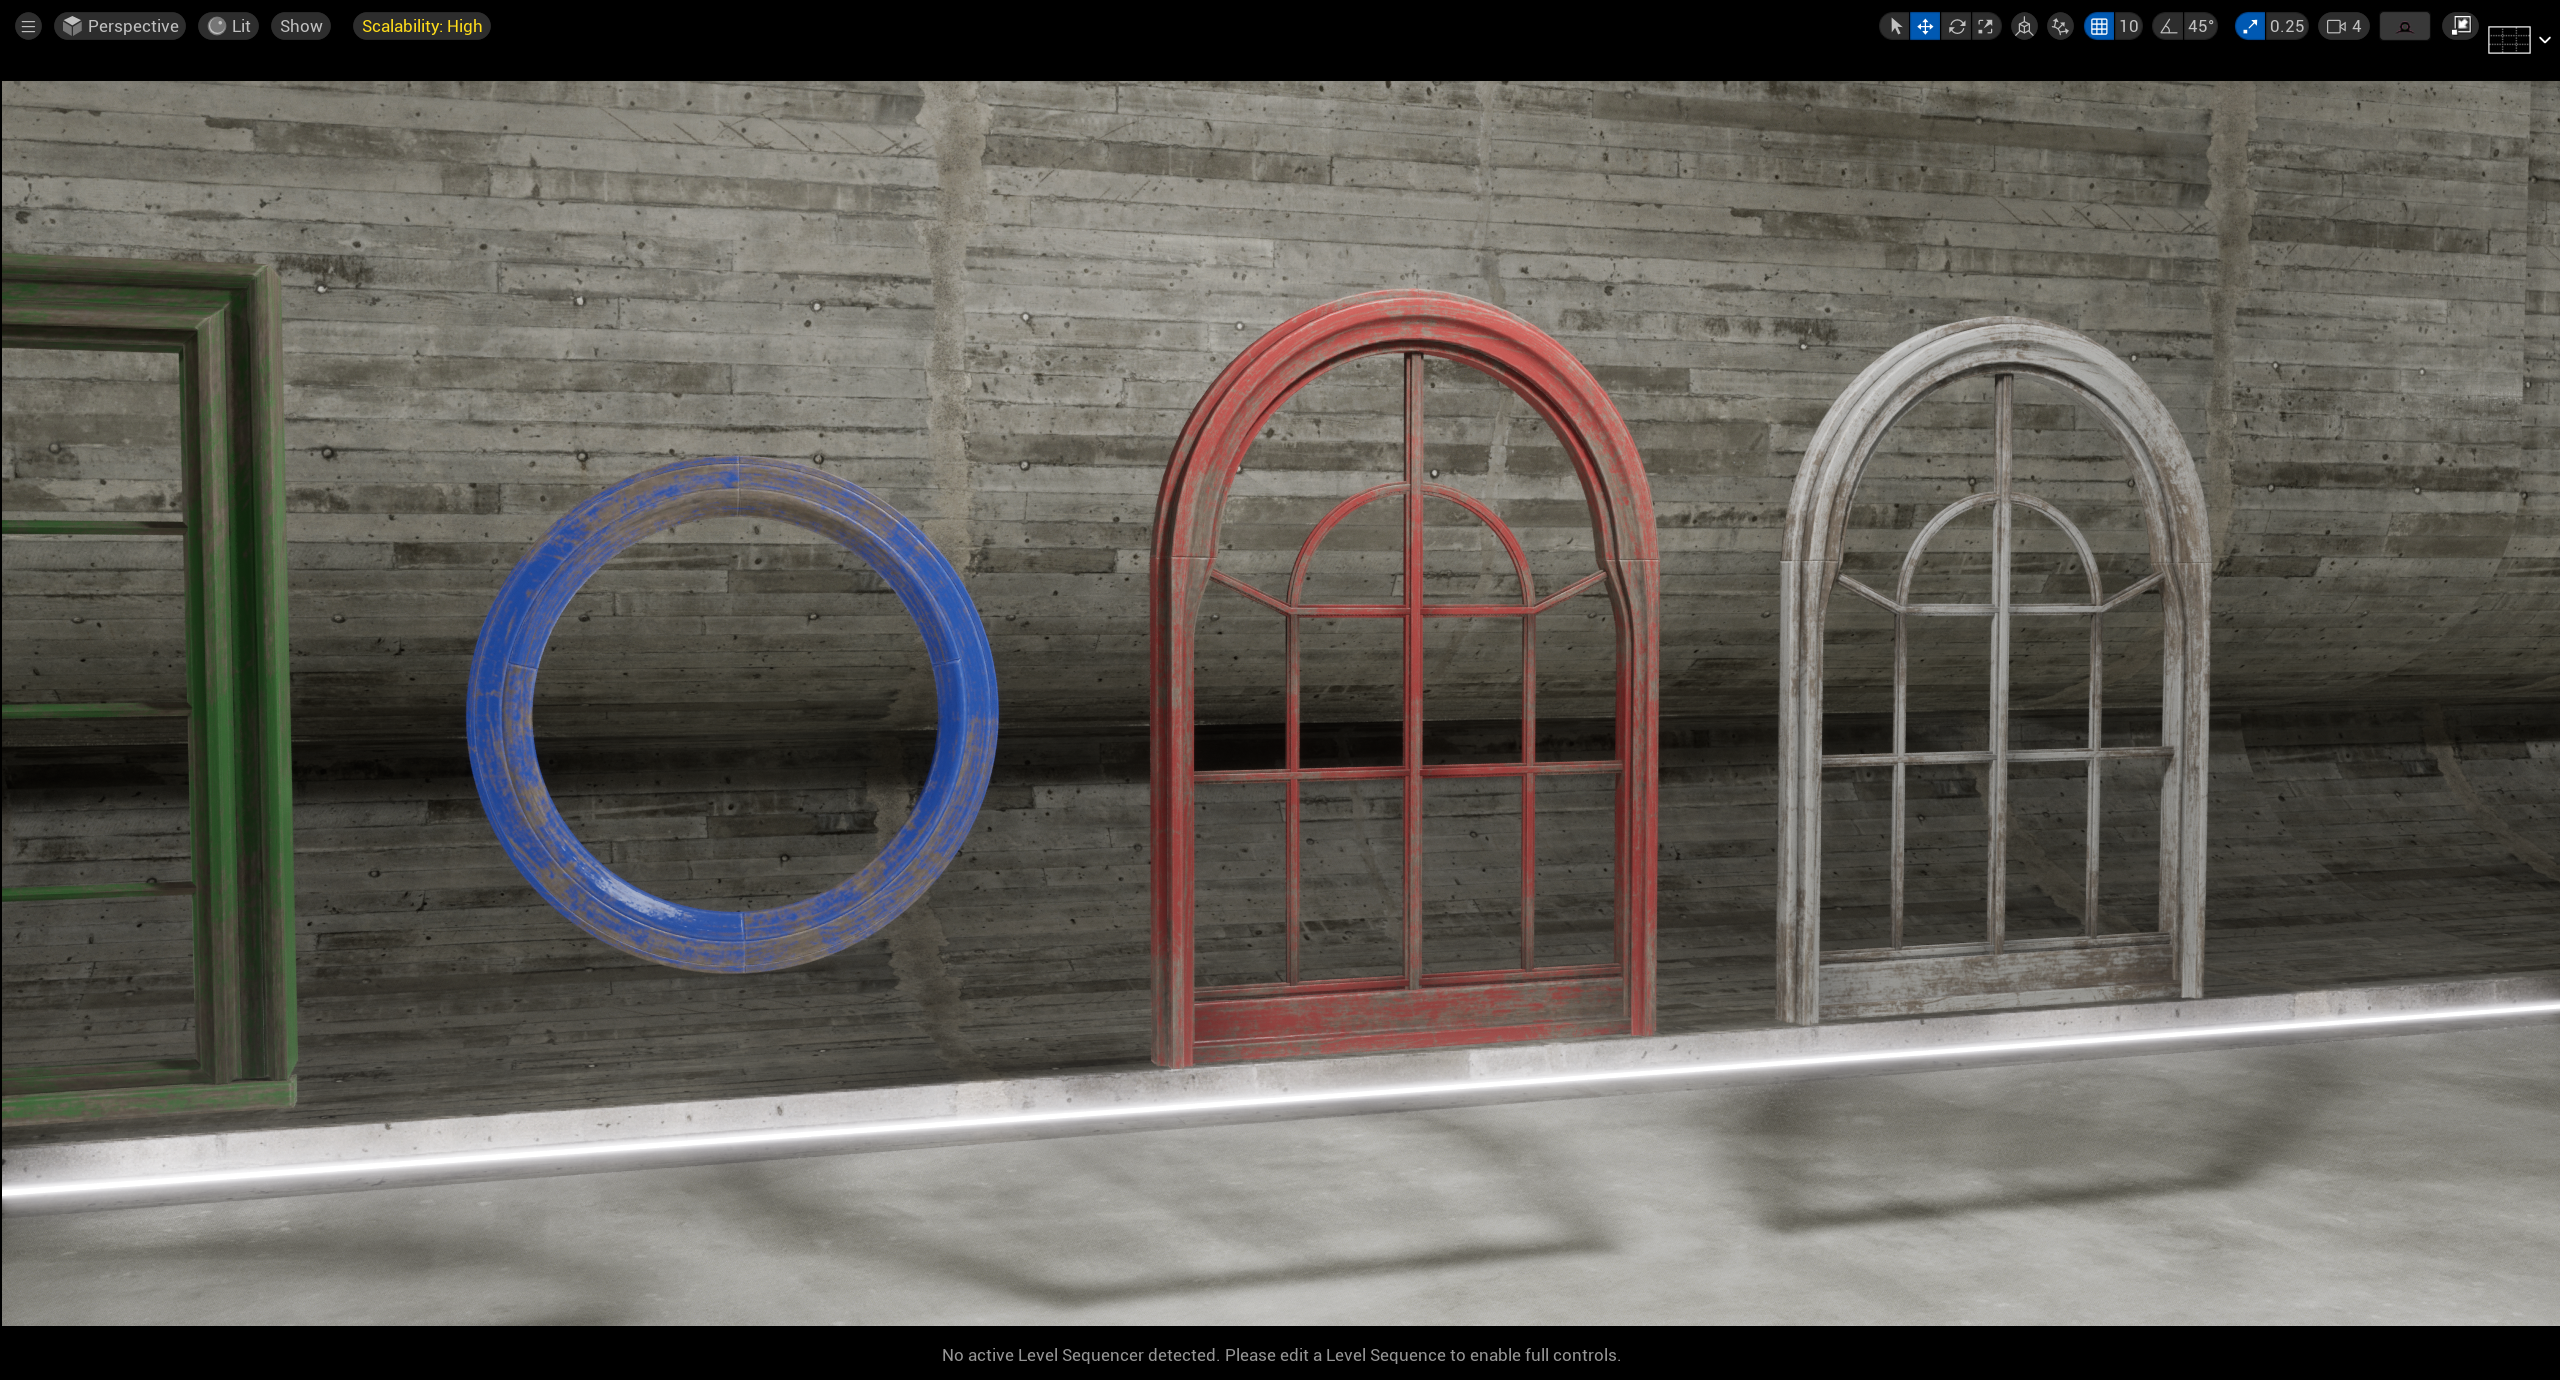
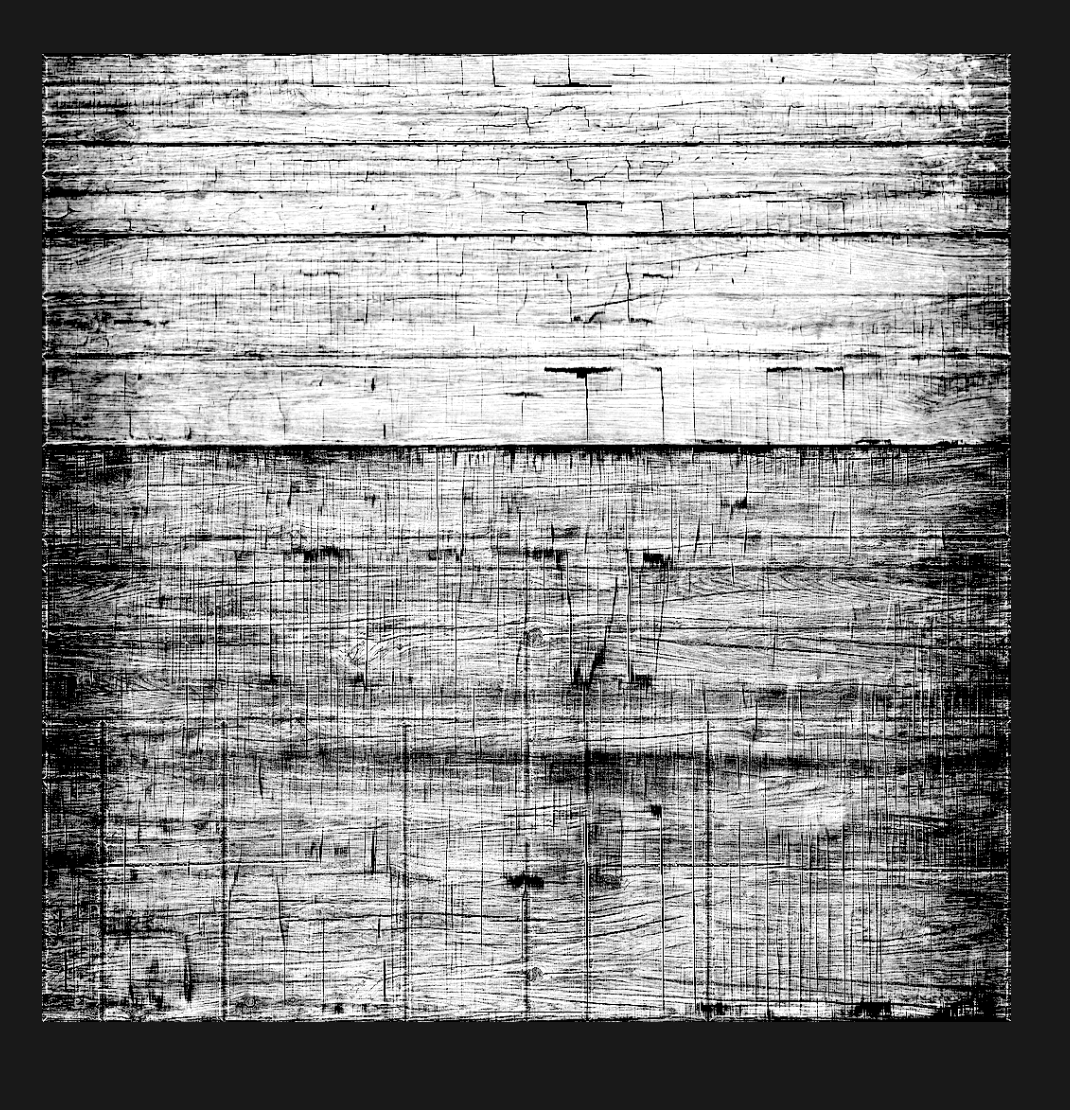
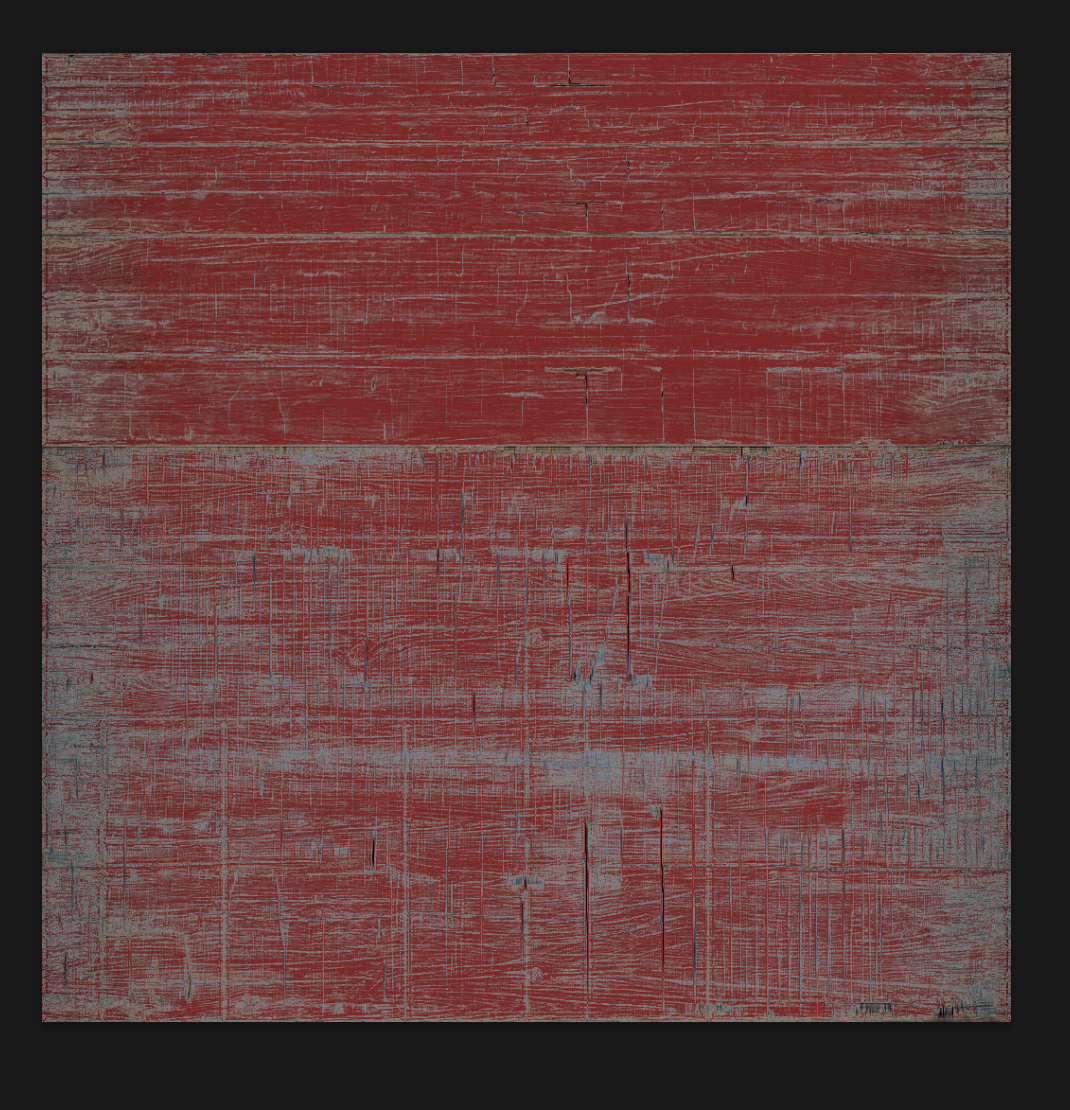
Scan Trim Example
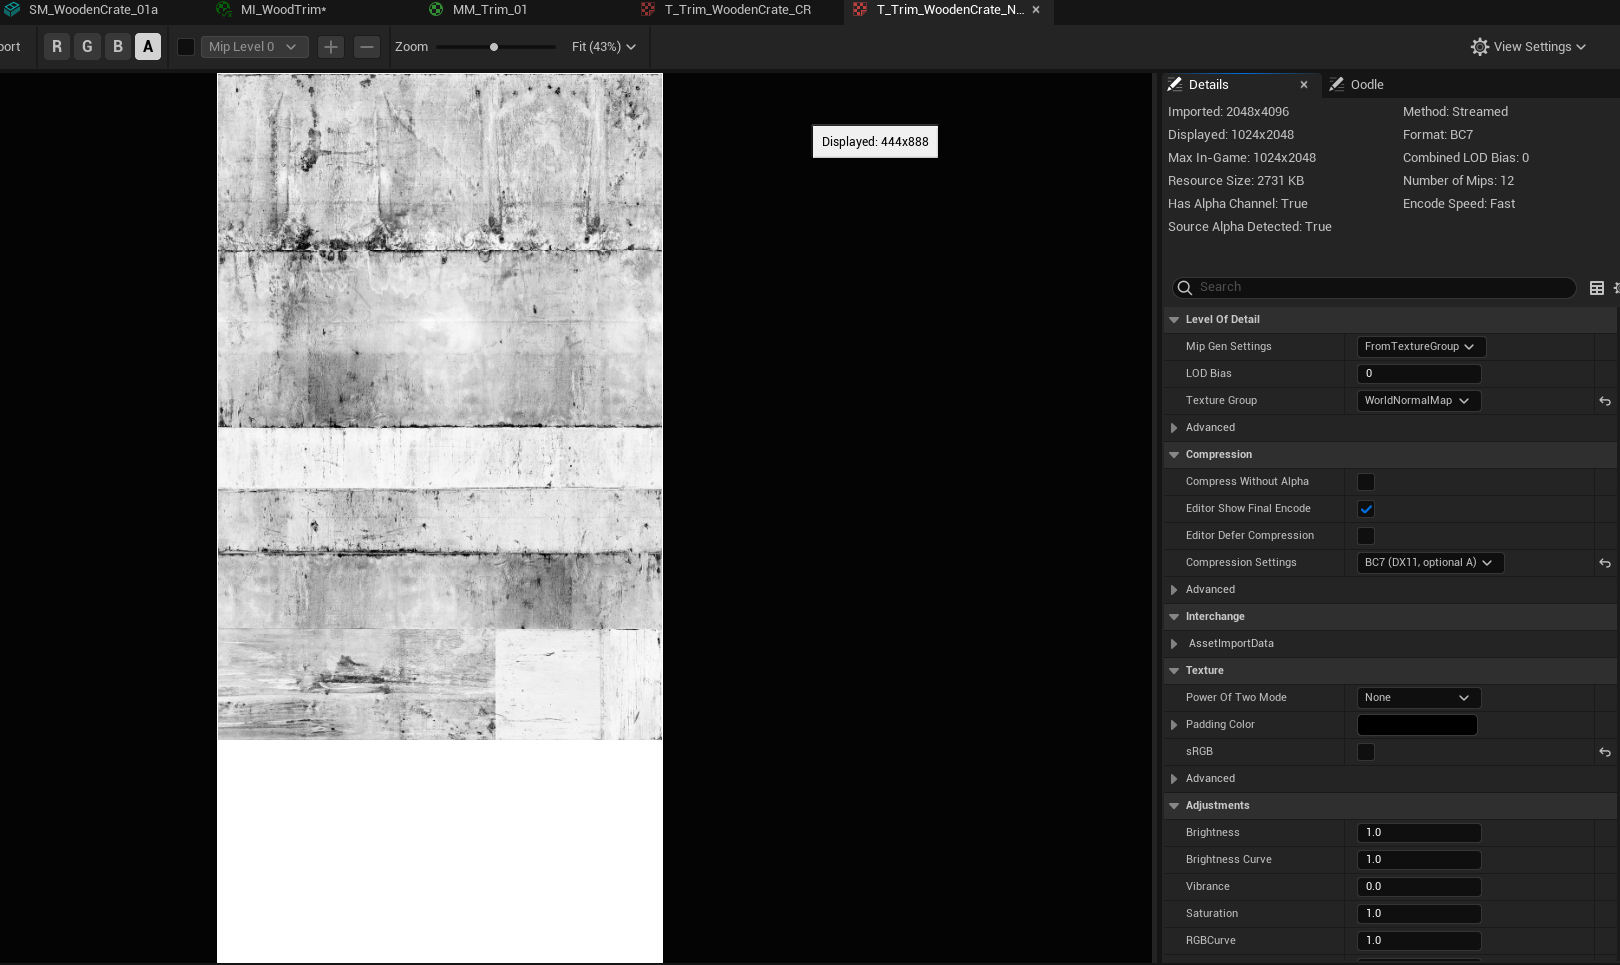
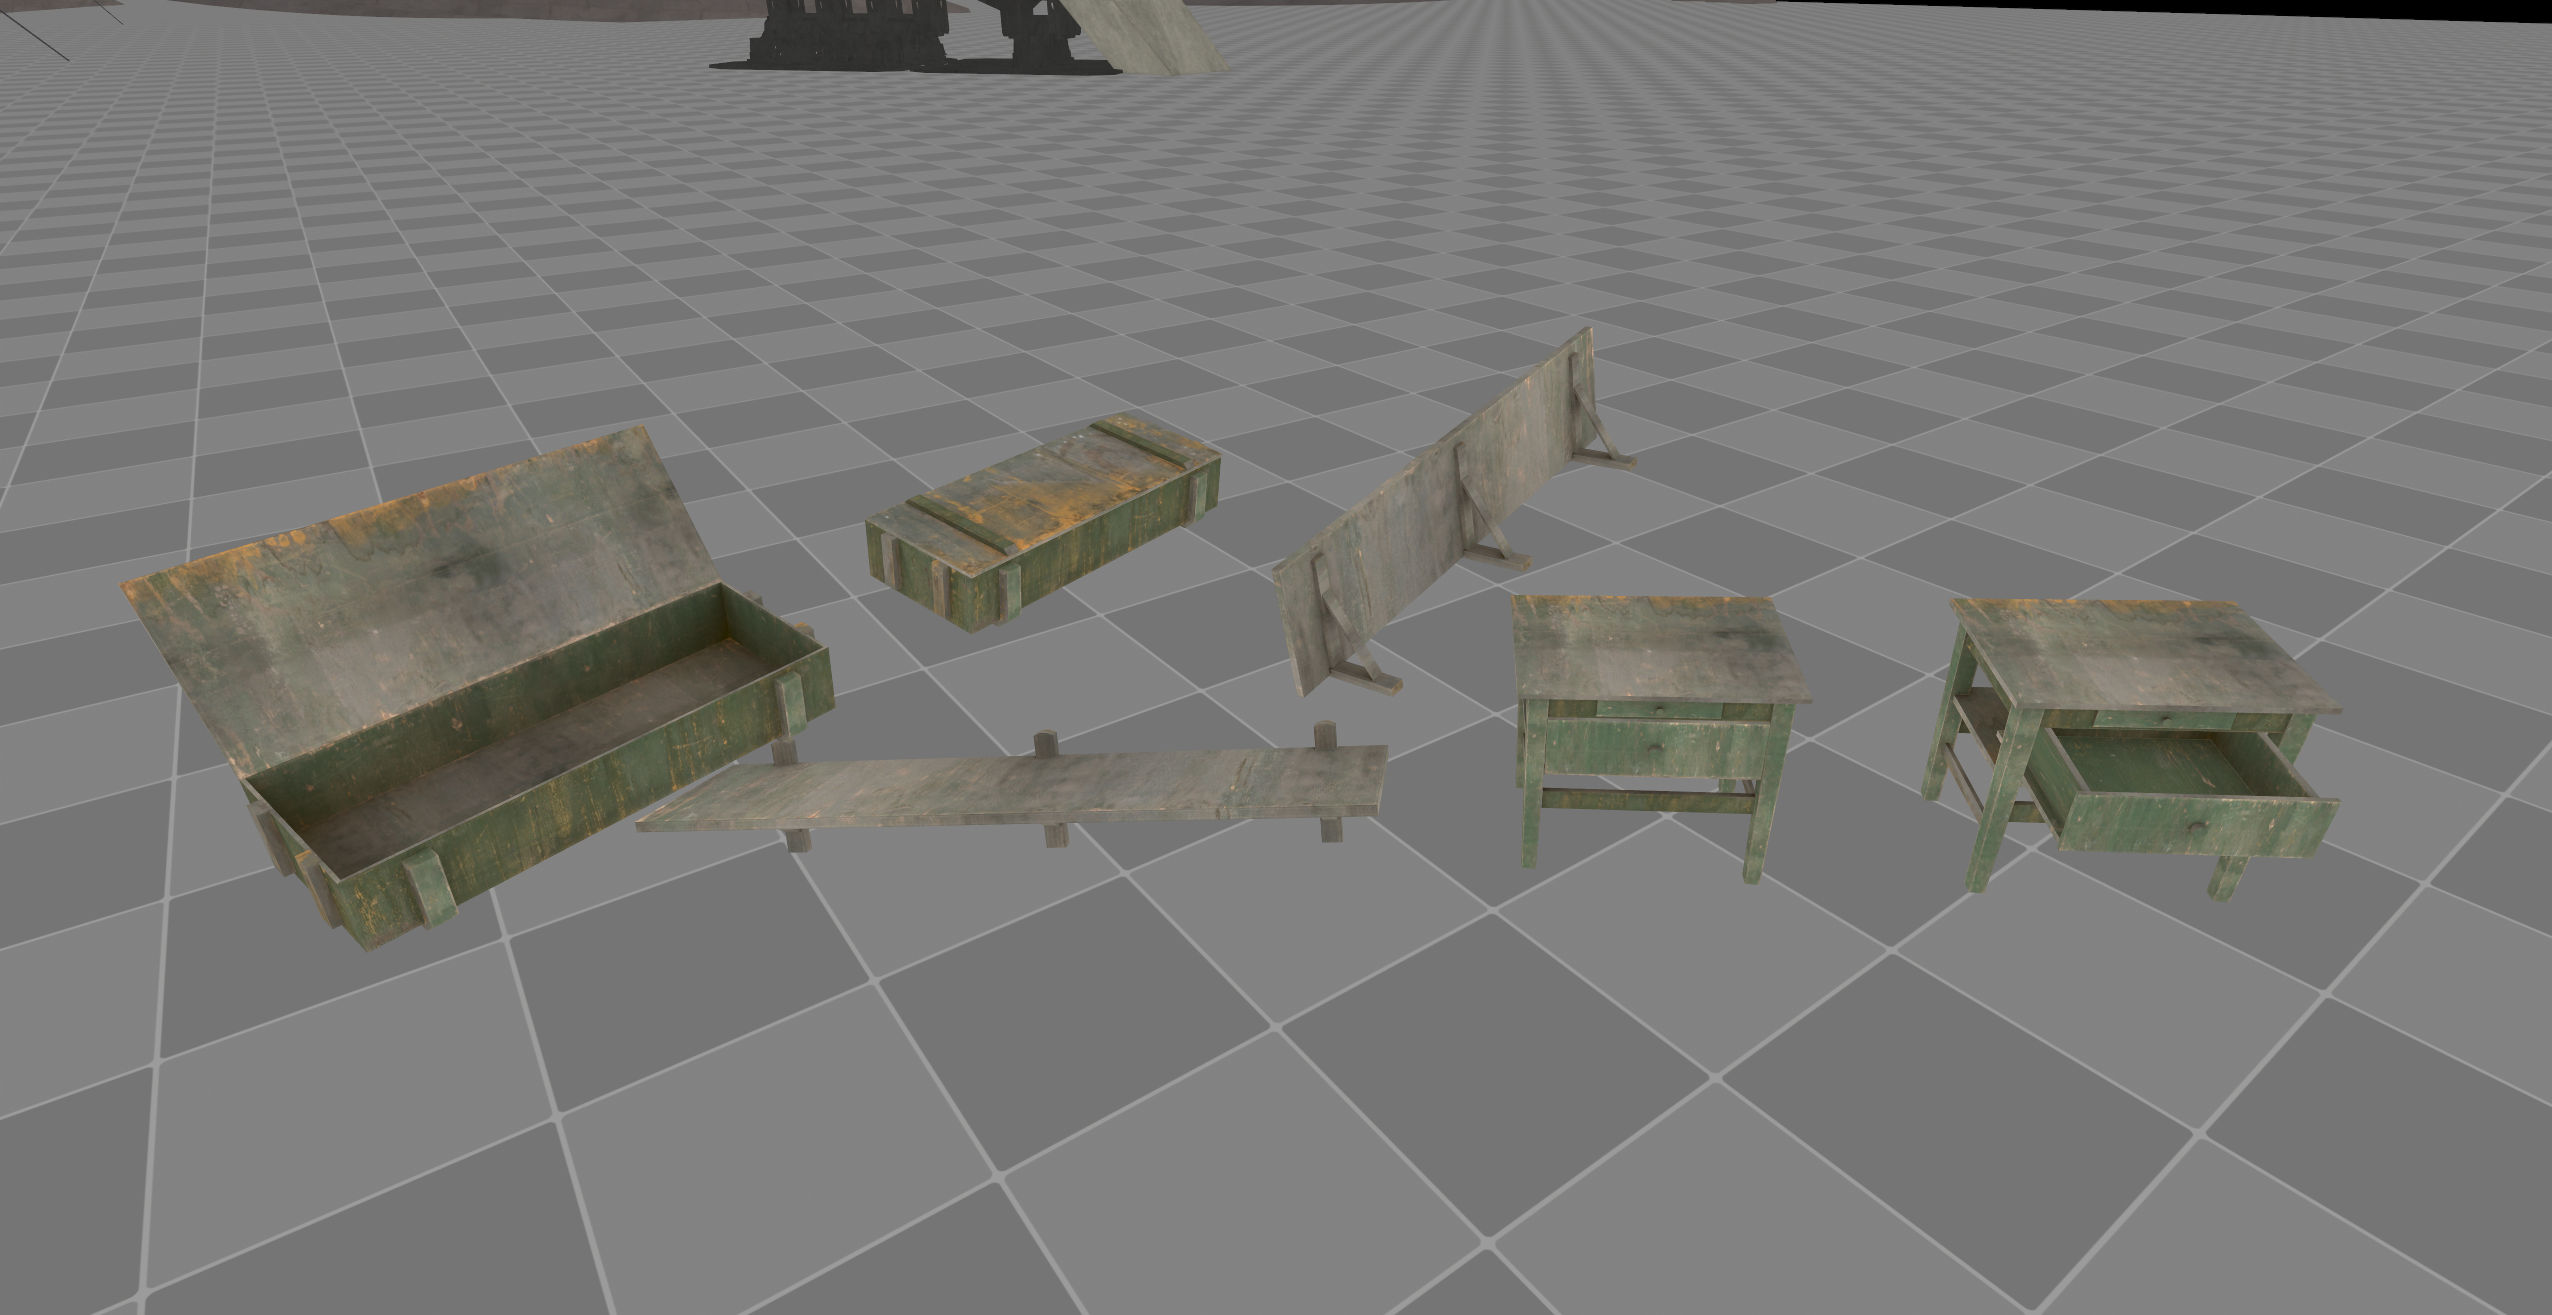
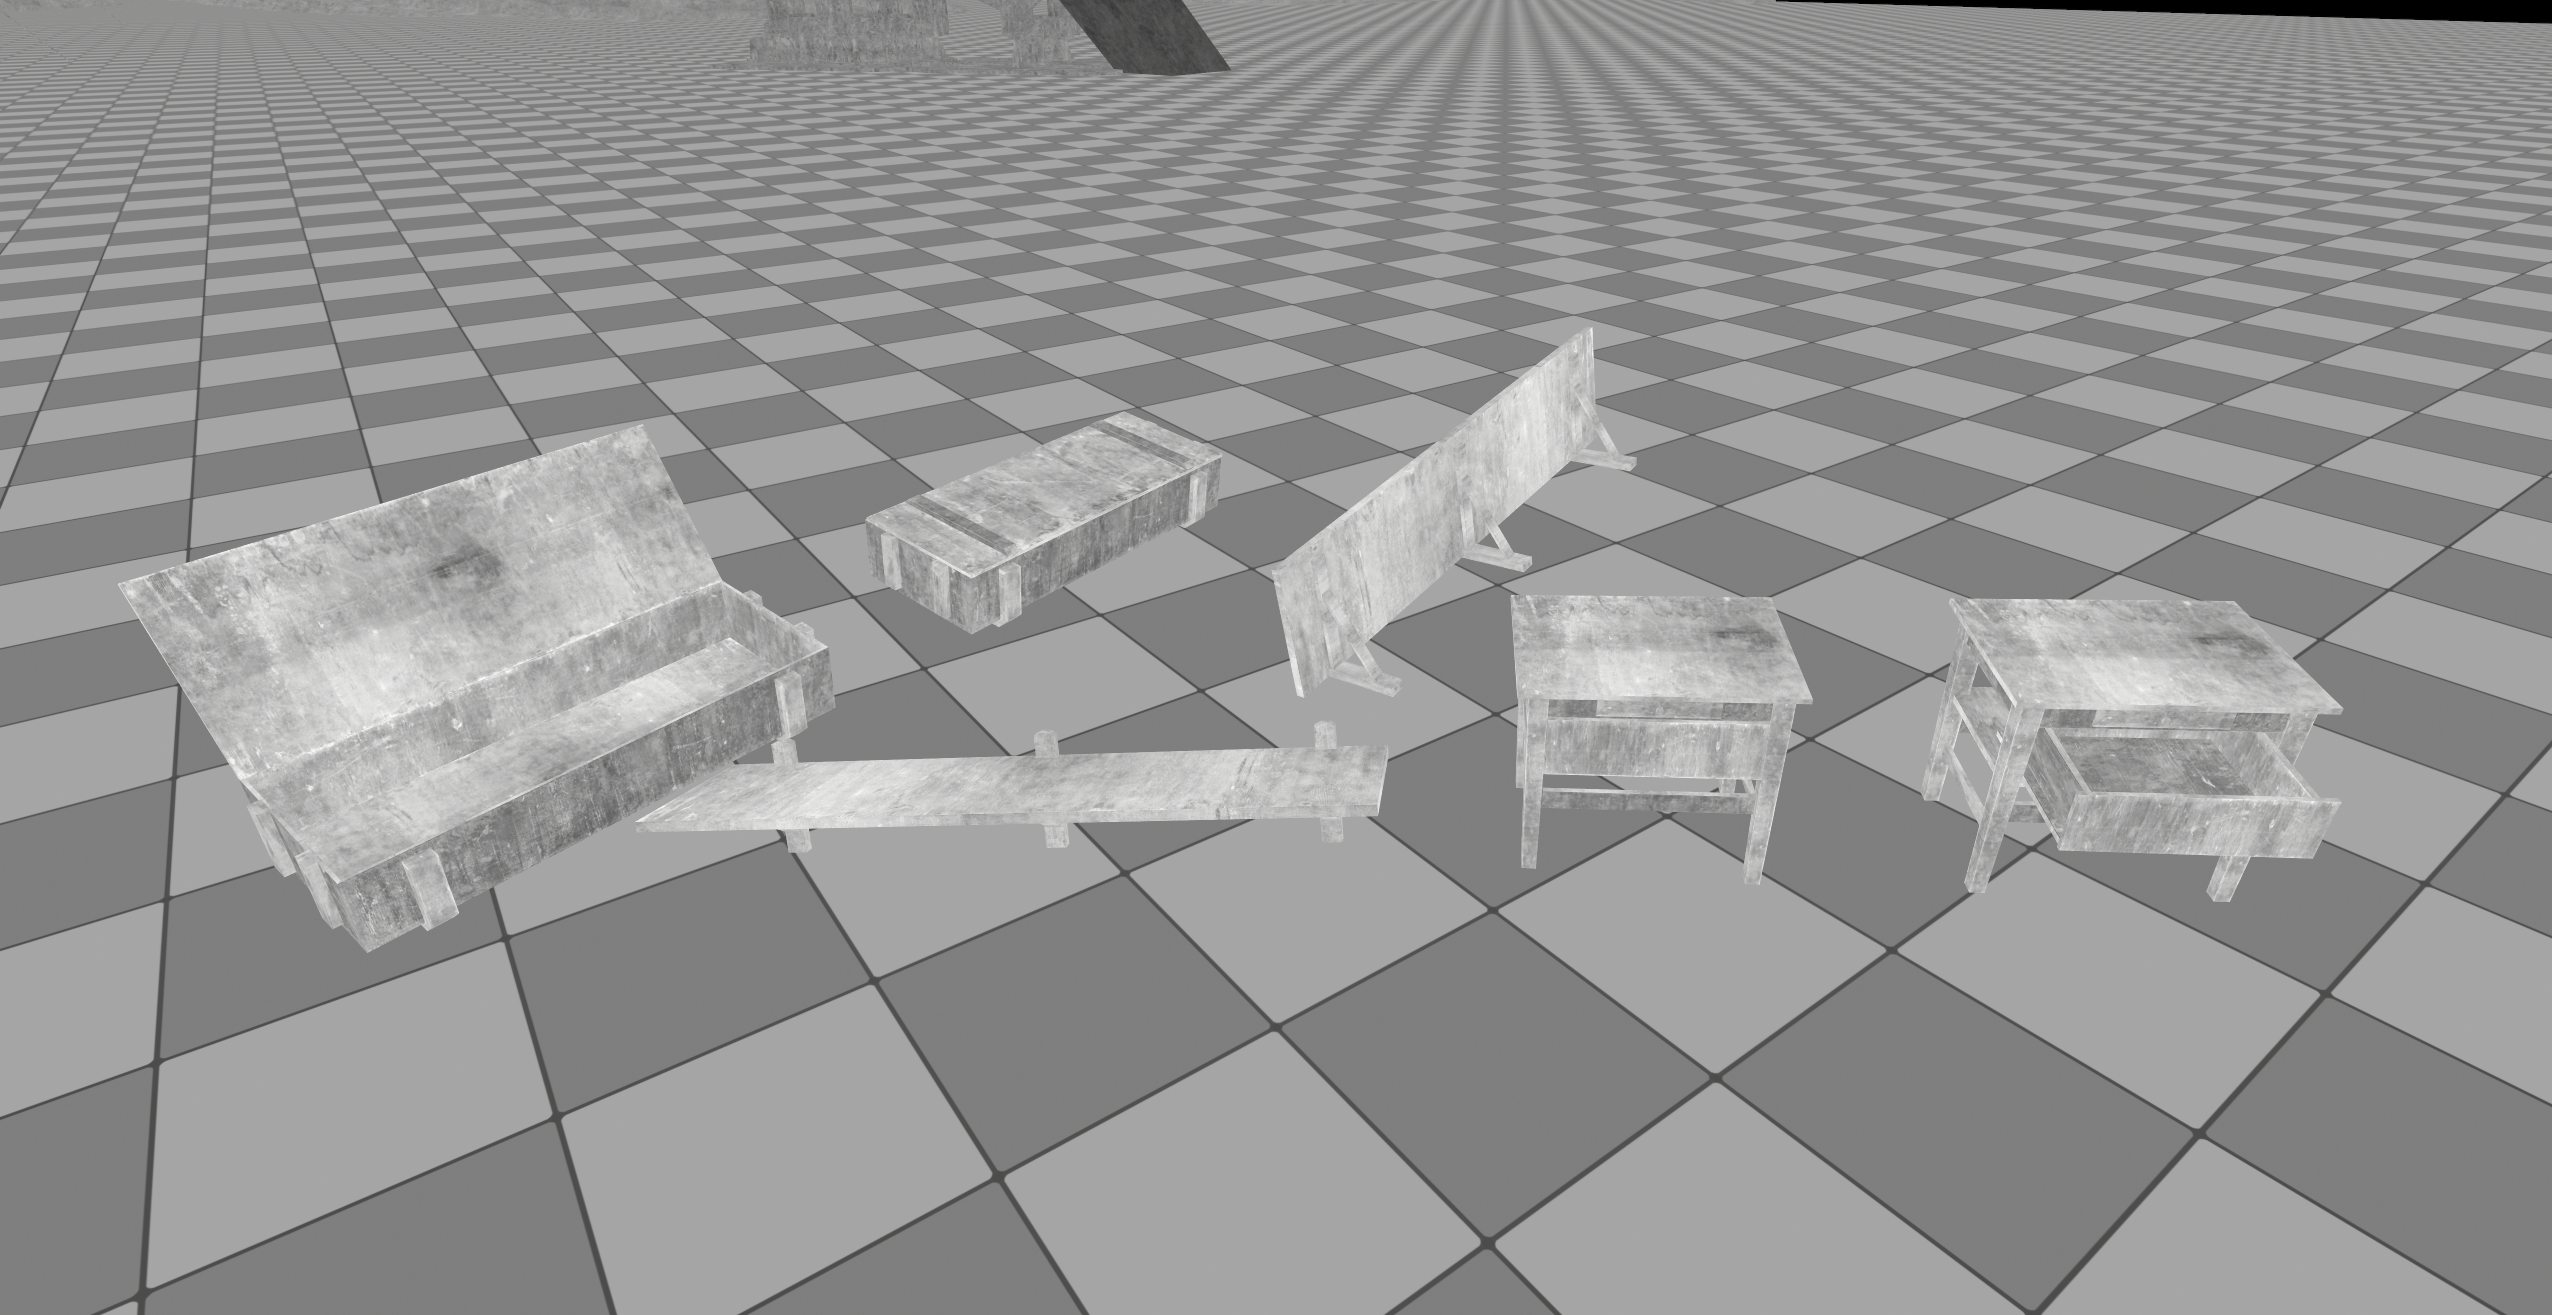
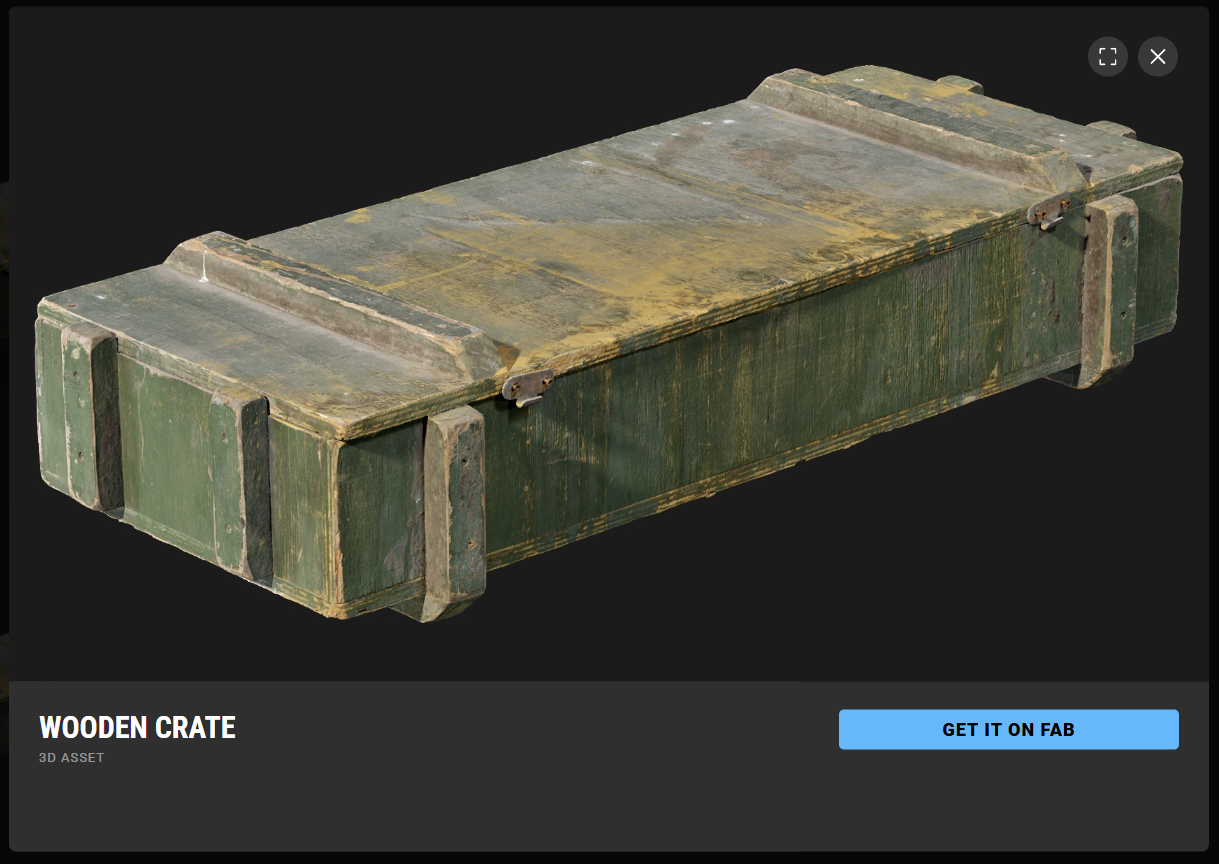
The textures were captured from this uniquely baked asset from Megascans. By simply baking the surfaces down to trim plane and adjusting the values inside of photoshop.